Terraform
Terraform 架构和核心概念
什么是 Terraform
resource aws_instance "app" {
  ami = data.aws_ami.ubuntu.id
  instance_type = var.instance_type
  tags = {
    Name = "${var.prefix}-meow"
  }
}
- 全新的配置语言 HCL(HashiCorp Configuration Language)
- 可执行的文档
- 人类和机器可读
- 简单、易学易用
- 测试、共享、重用、自动化
- 适用于几乎所有的云厂商
什么是 HCL
HCL2 toolkit: https://github.com/hashicorp/hcl
Terraform 使用范式
Terraform + Ansible
Terraform + Kubernetes,Terraform可以用来管理 K8s
Terraform 架构
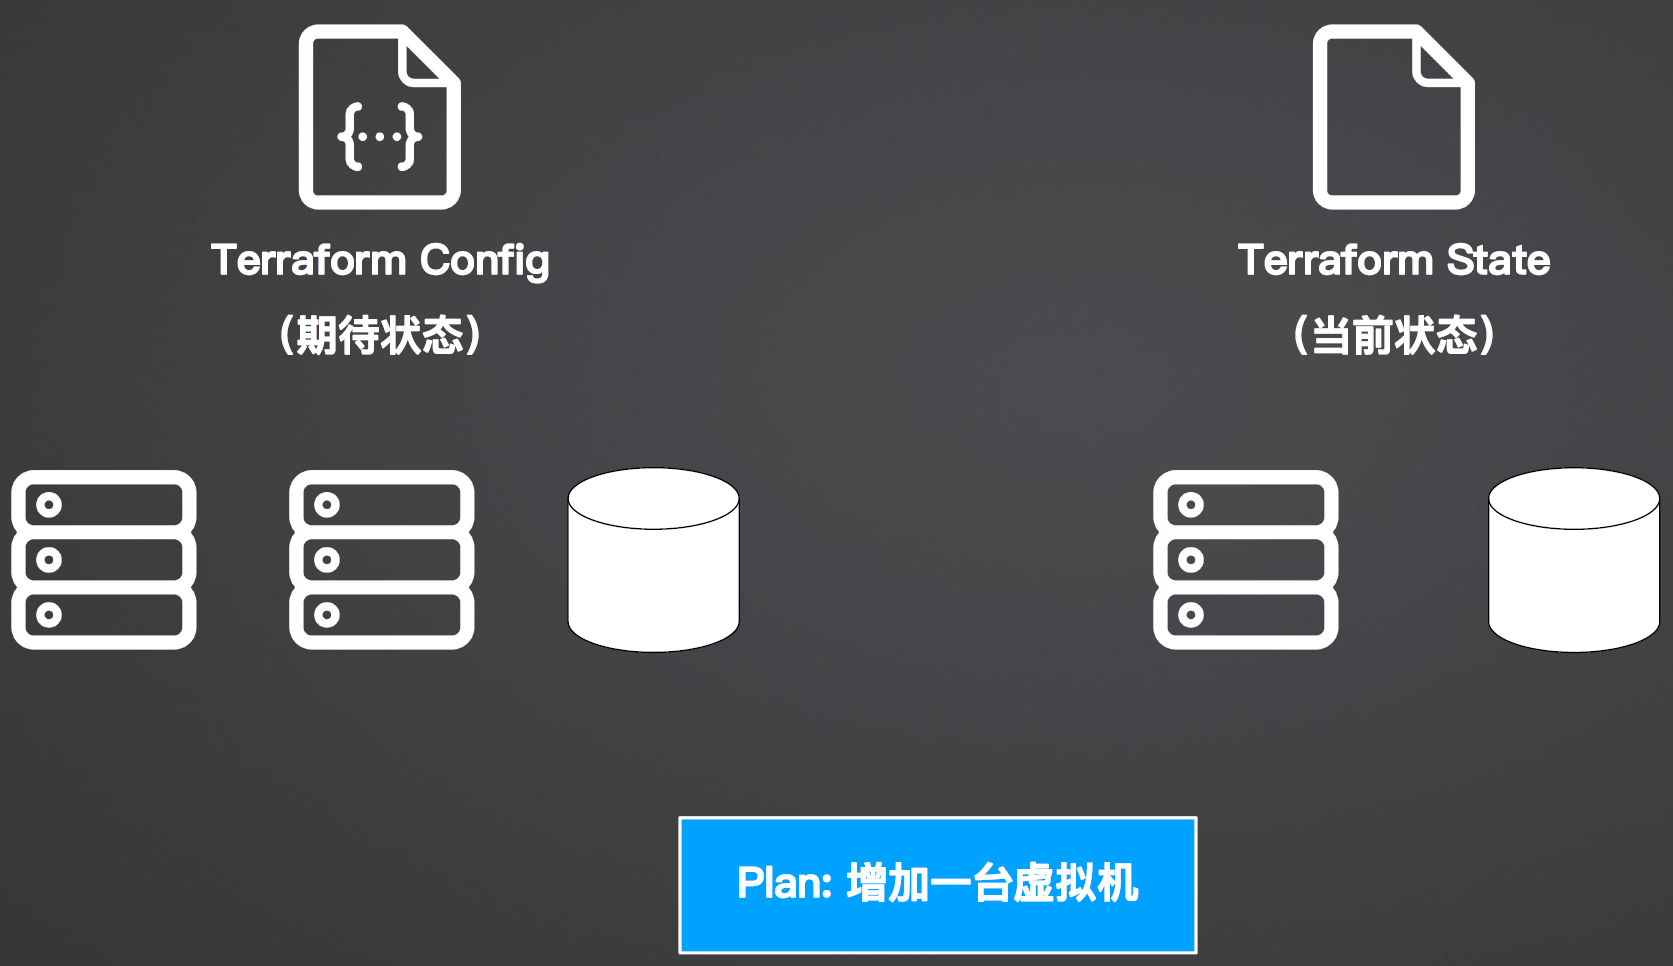
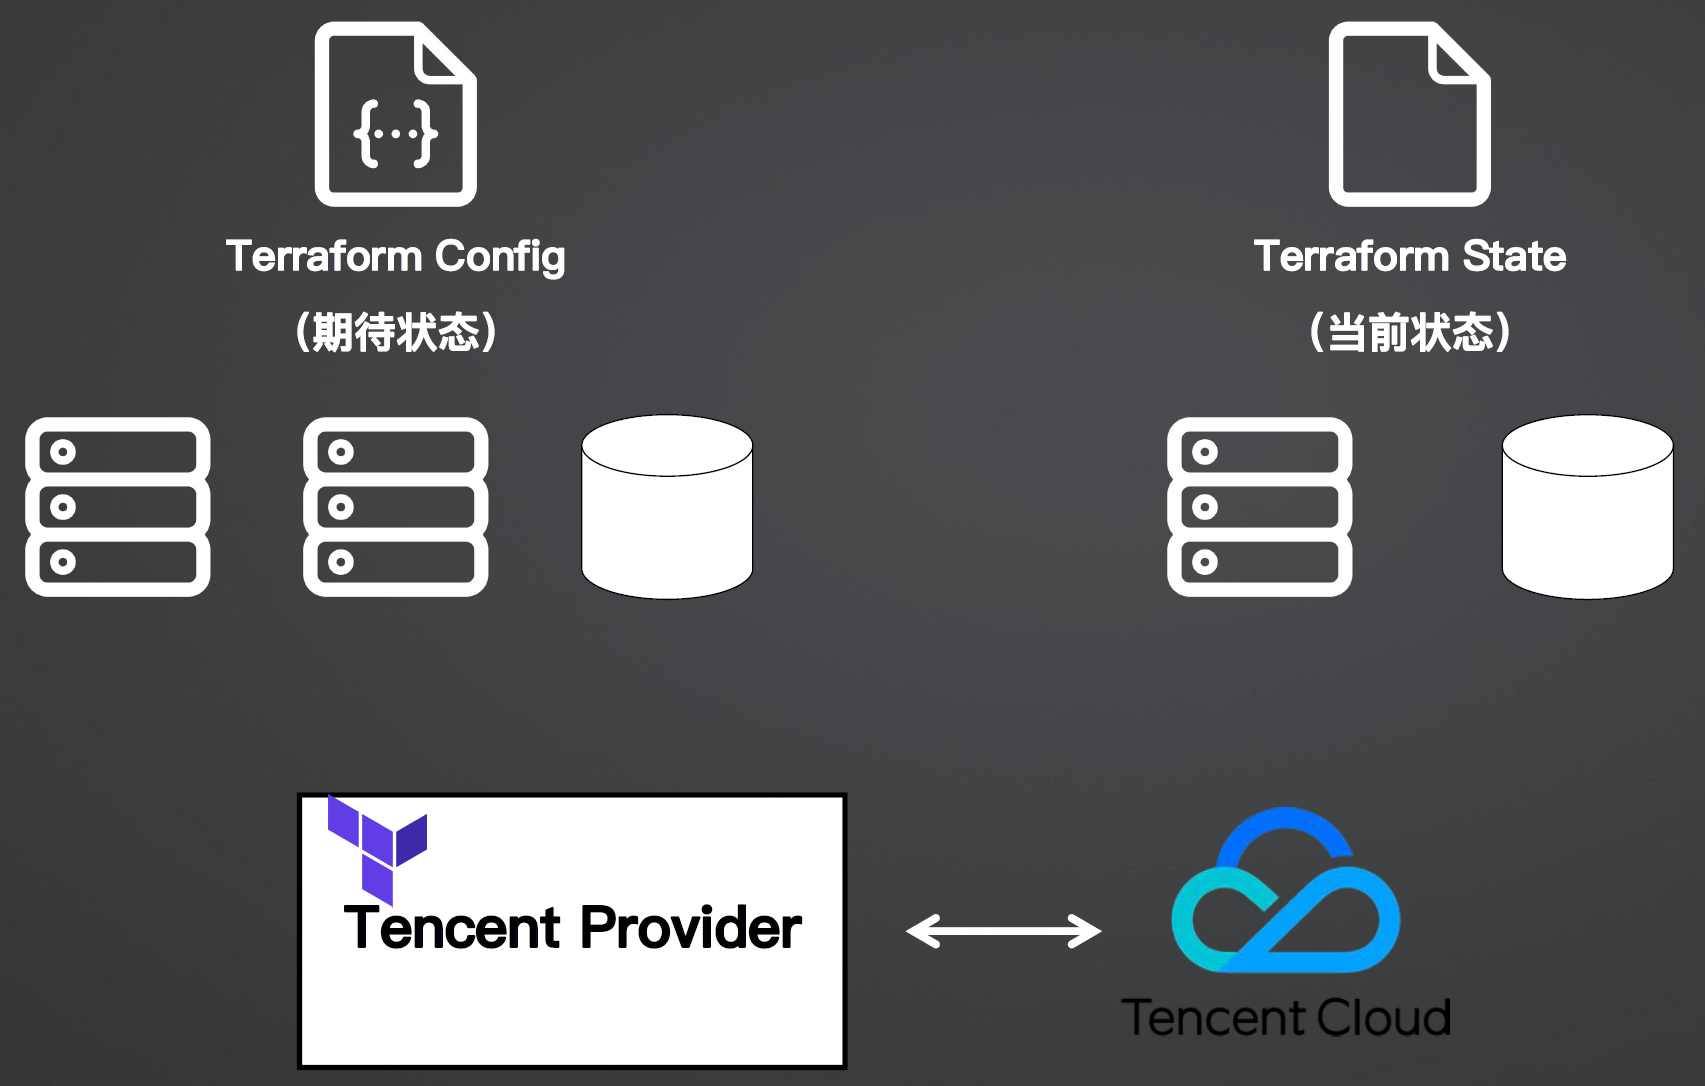
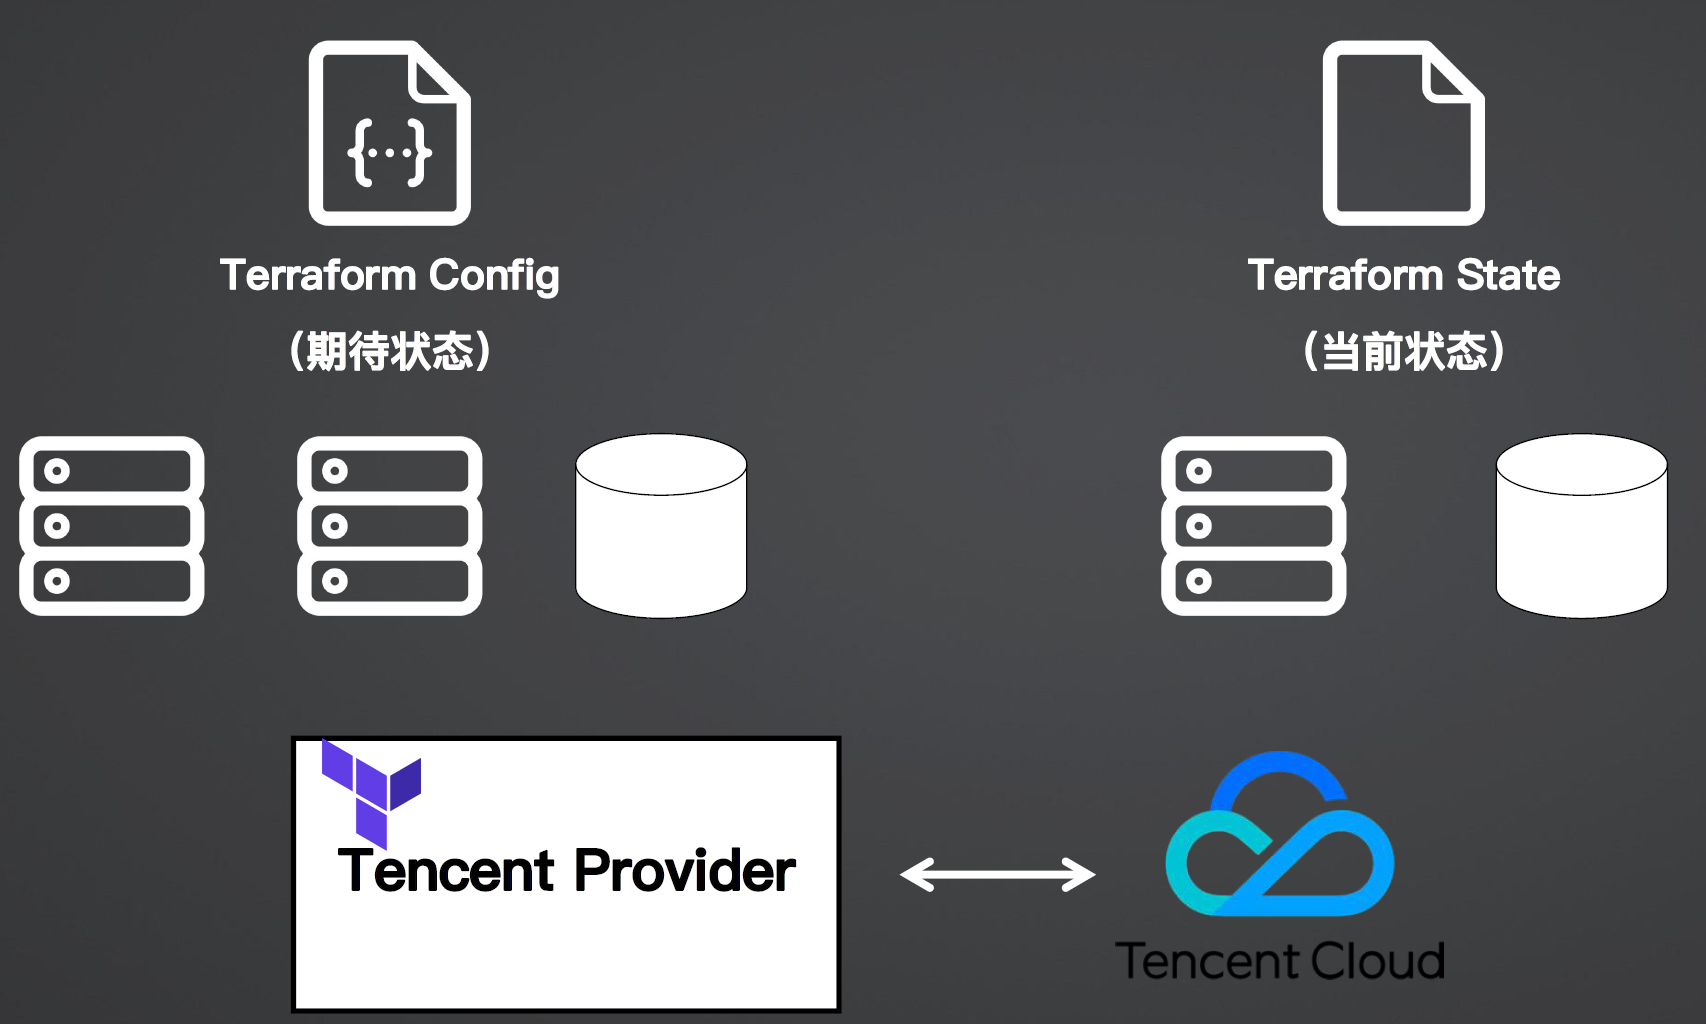
config 是期望状态
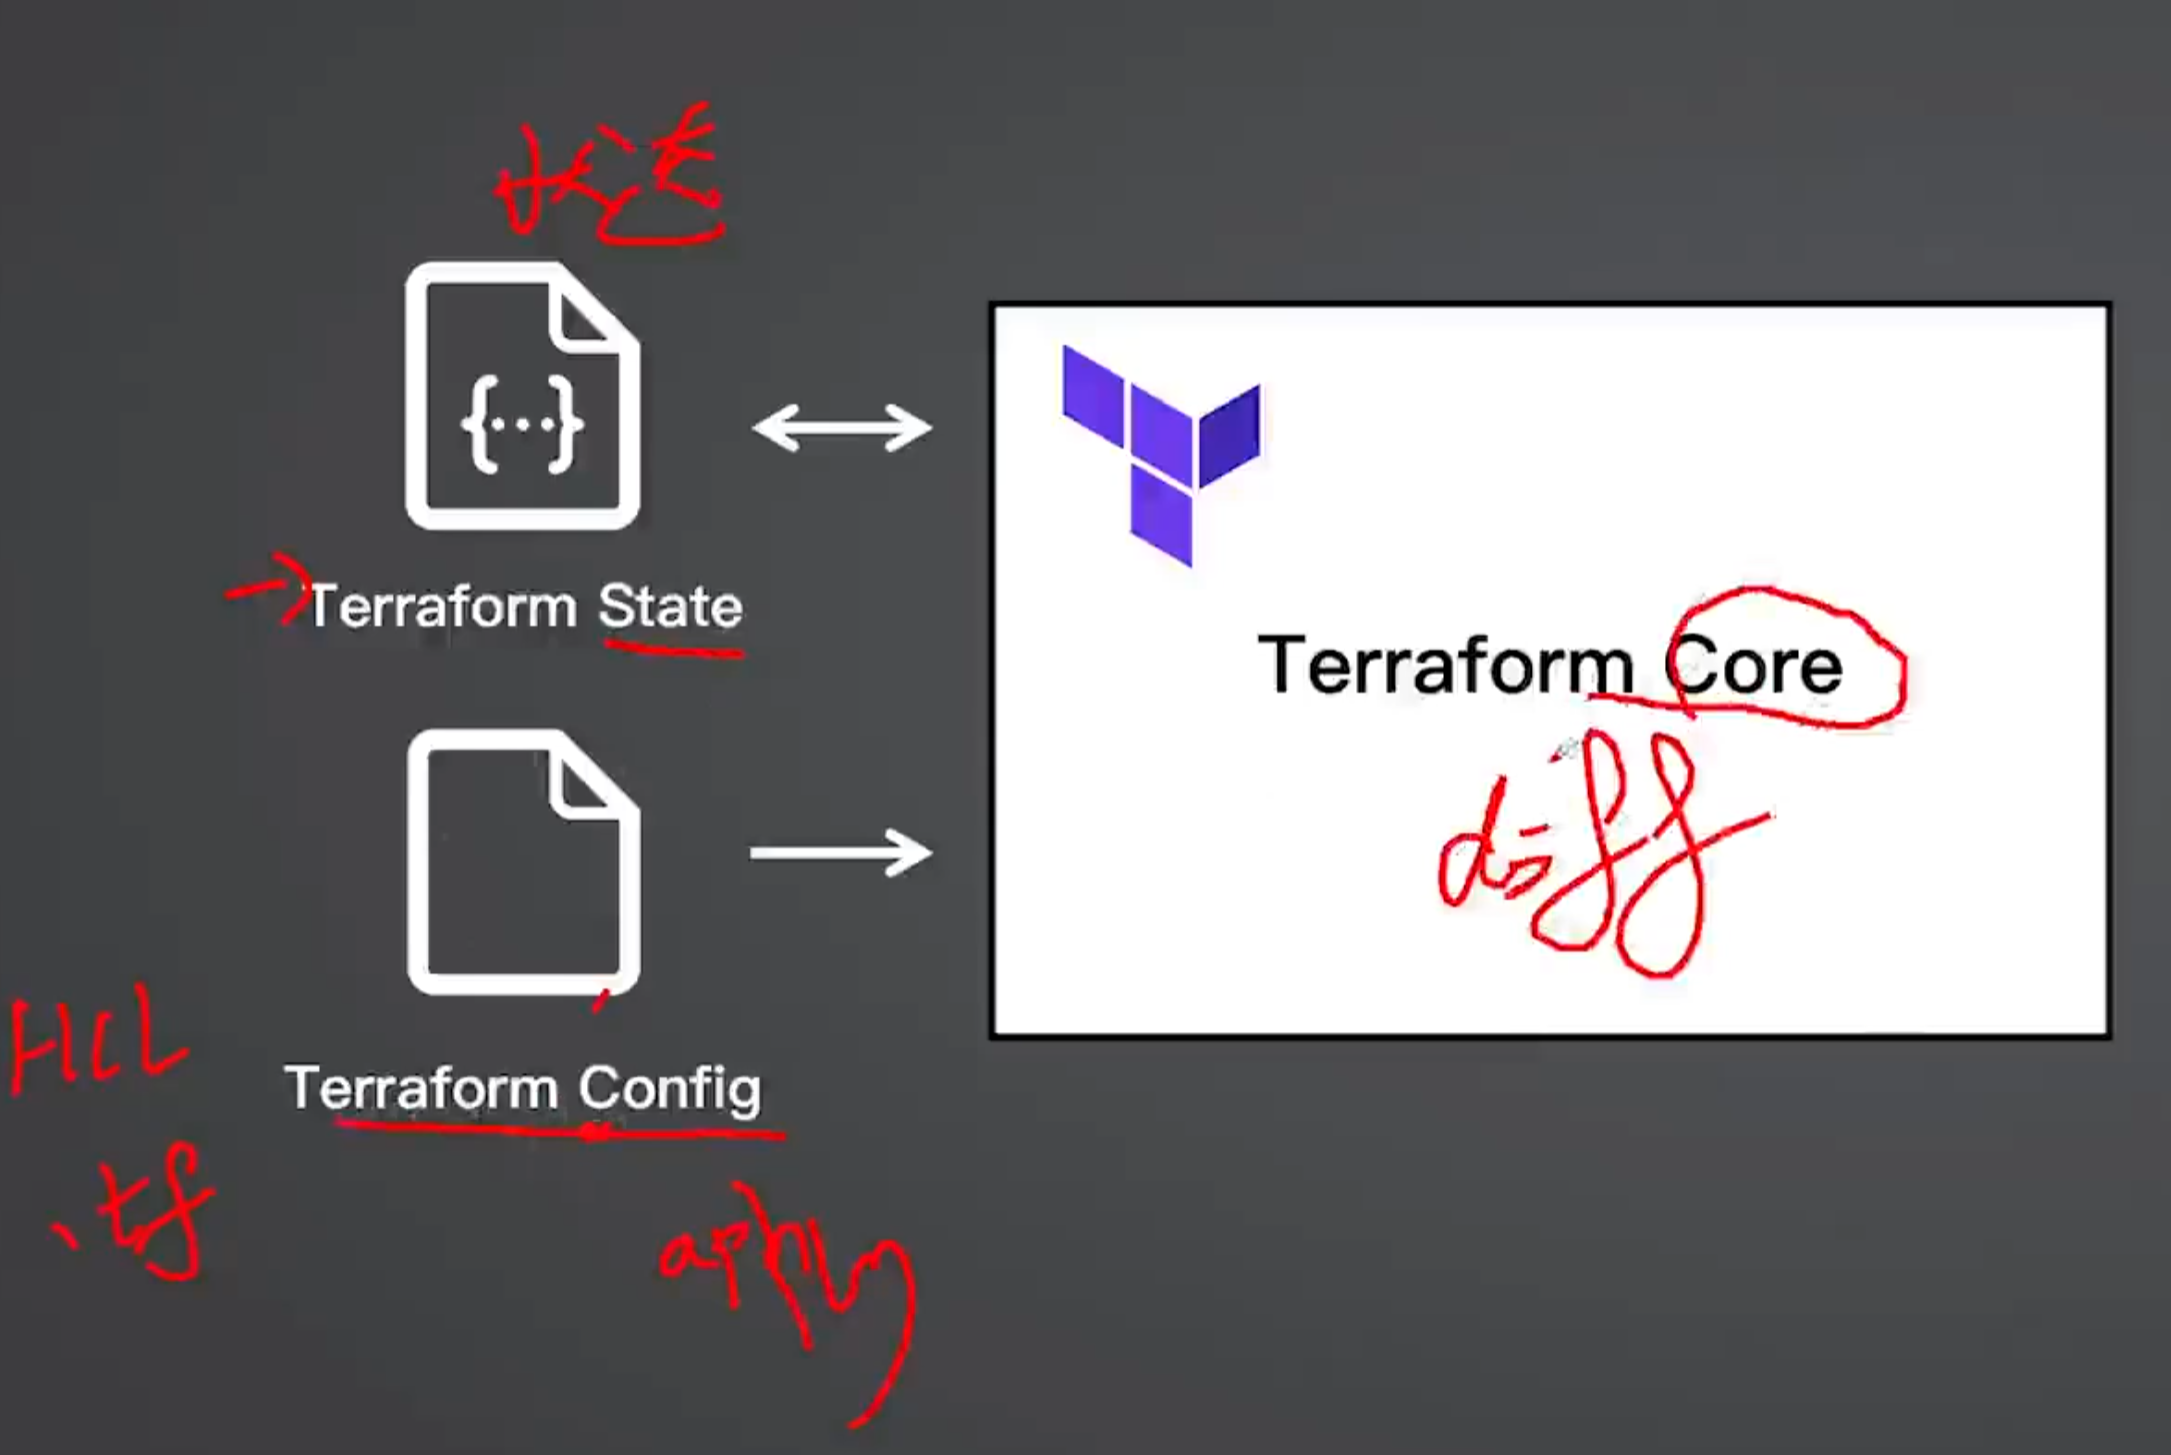
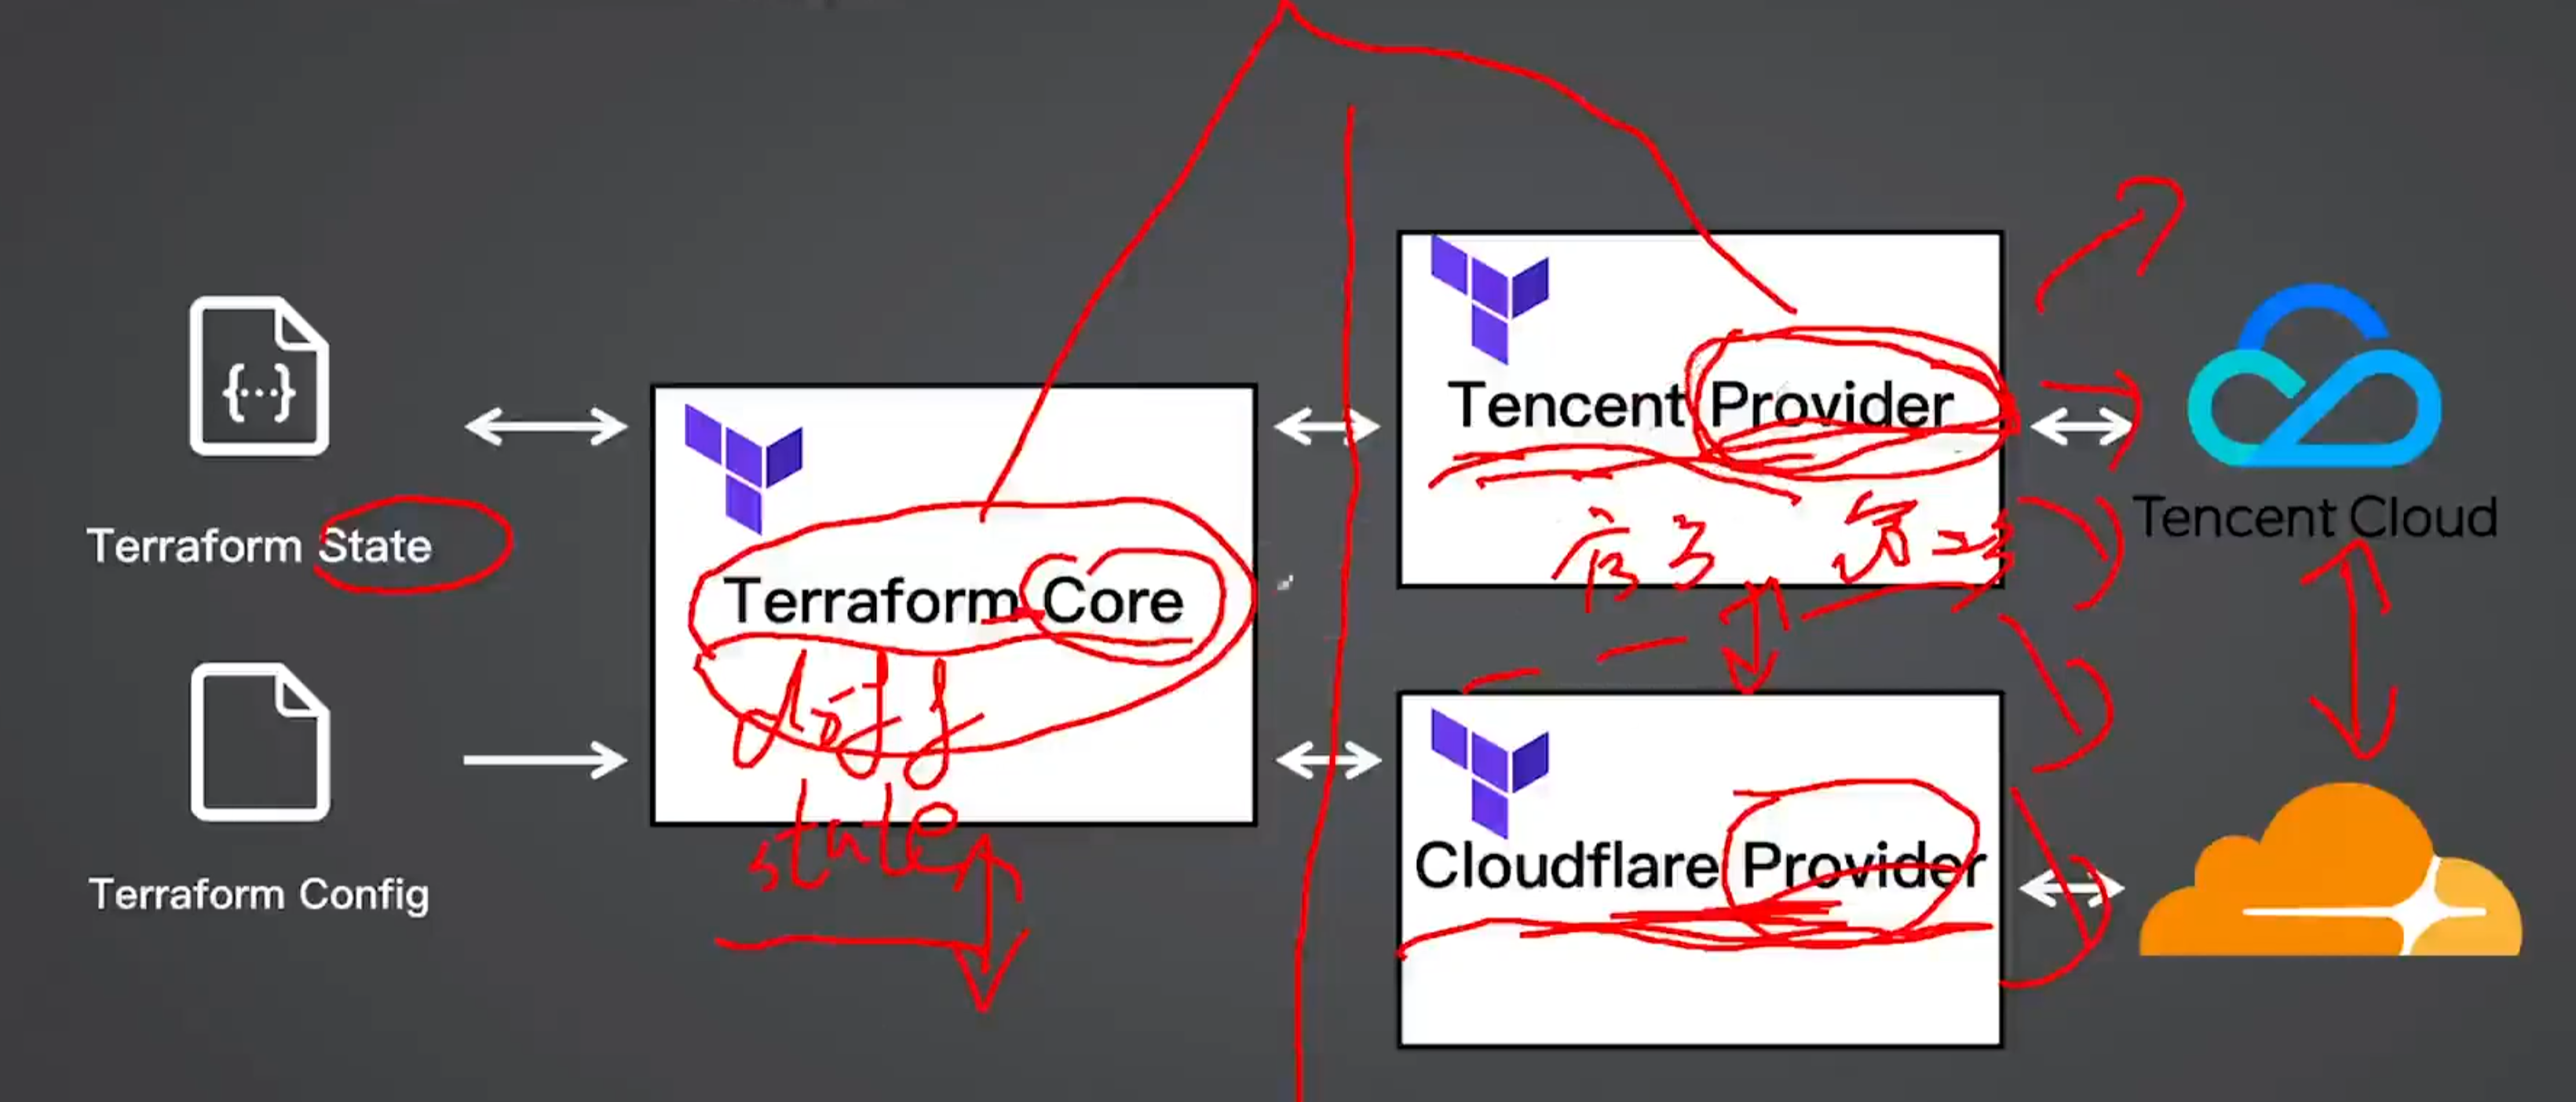
Core 不直接跟云厂商进行交互,而是通过 provider。
provider 相当于插件.
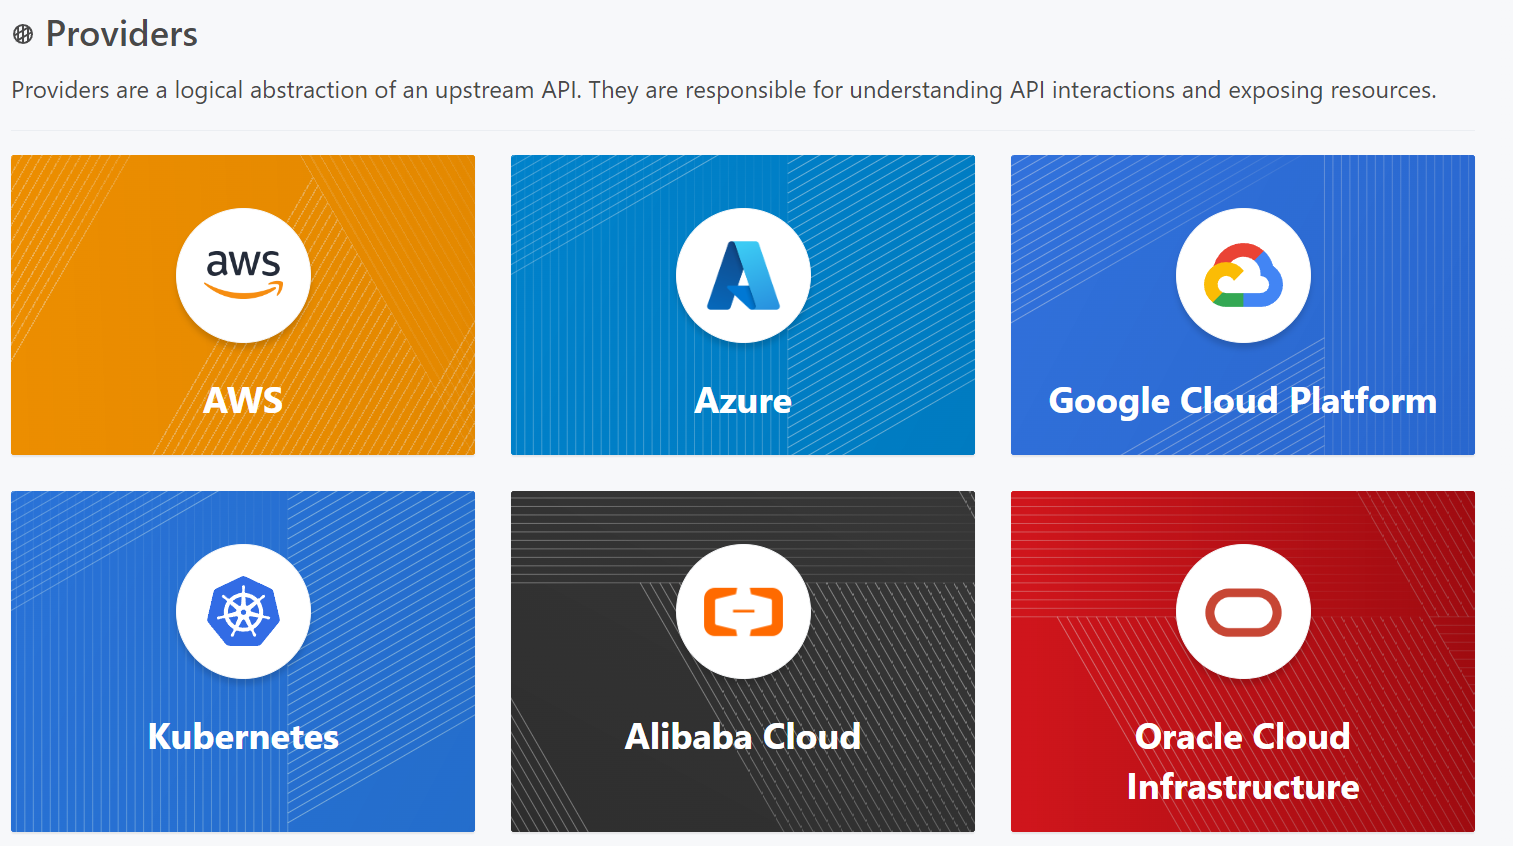
Provider 获取
https://registry.terraform.io/browse/providers
https://registry.terraform.io/providers/hashicorp/aws/latest/docs
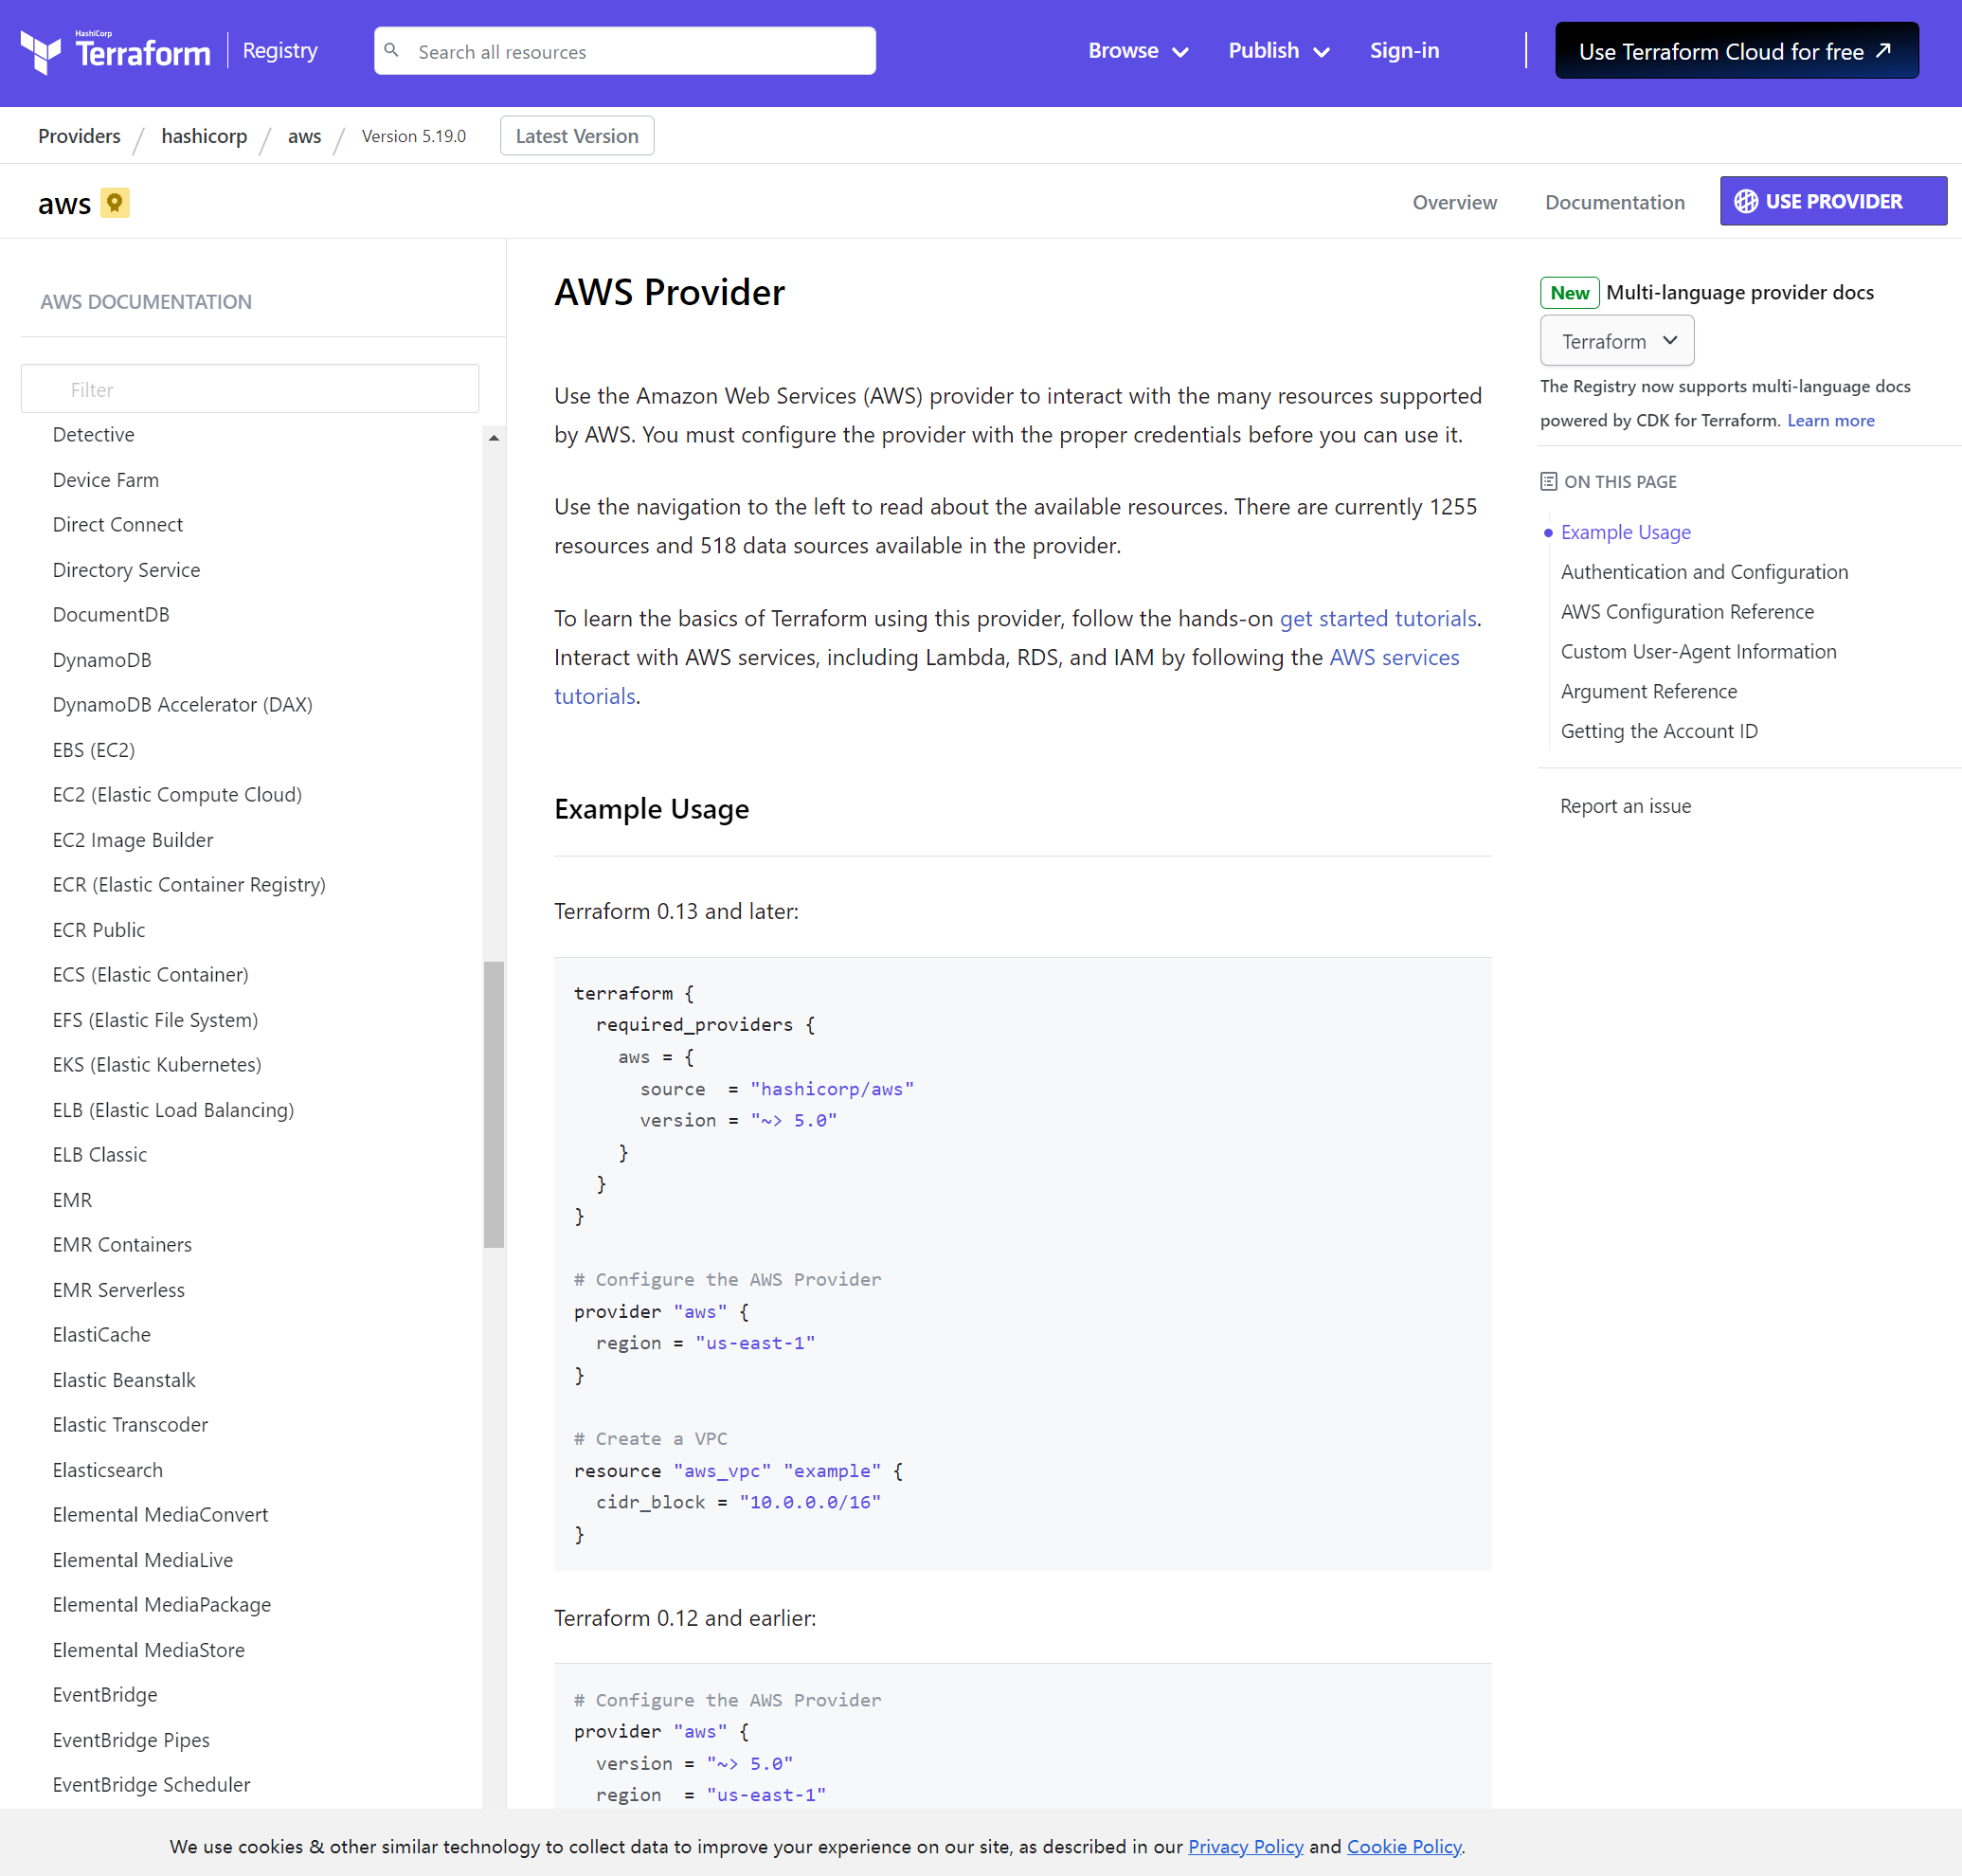
Provider 版本控制
- 建议固定版本,防止上游更新导致异常
- 不指定则使用最新版
- 版本操作符:=、!=、\>, >=, <, <=、~>。~> 表示允许小版本号的更新,但是会限制大版本号的更新。
terraform {
  required_providers {
    aws = {
      source  = "hashicorp/aws"
      version = "~> 5.0"
    }
  }
}
Terraform 核心命令
Terraform 基本命令
-
terraform init
-
terraform plan
-
terraform apply
-
terraform destroy
-
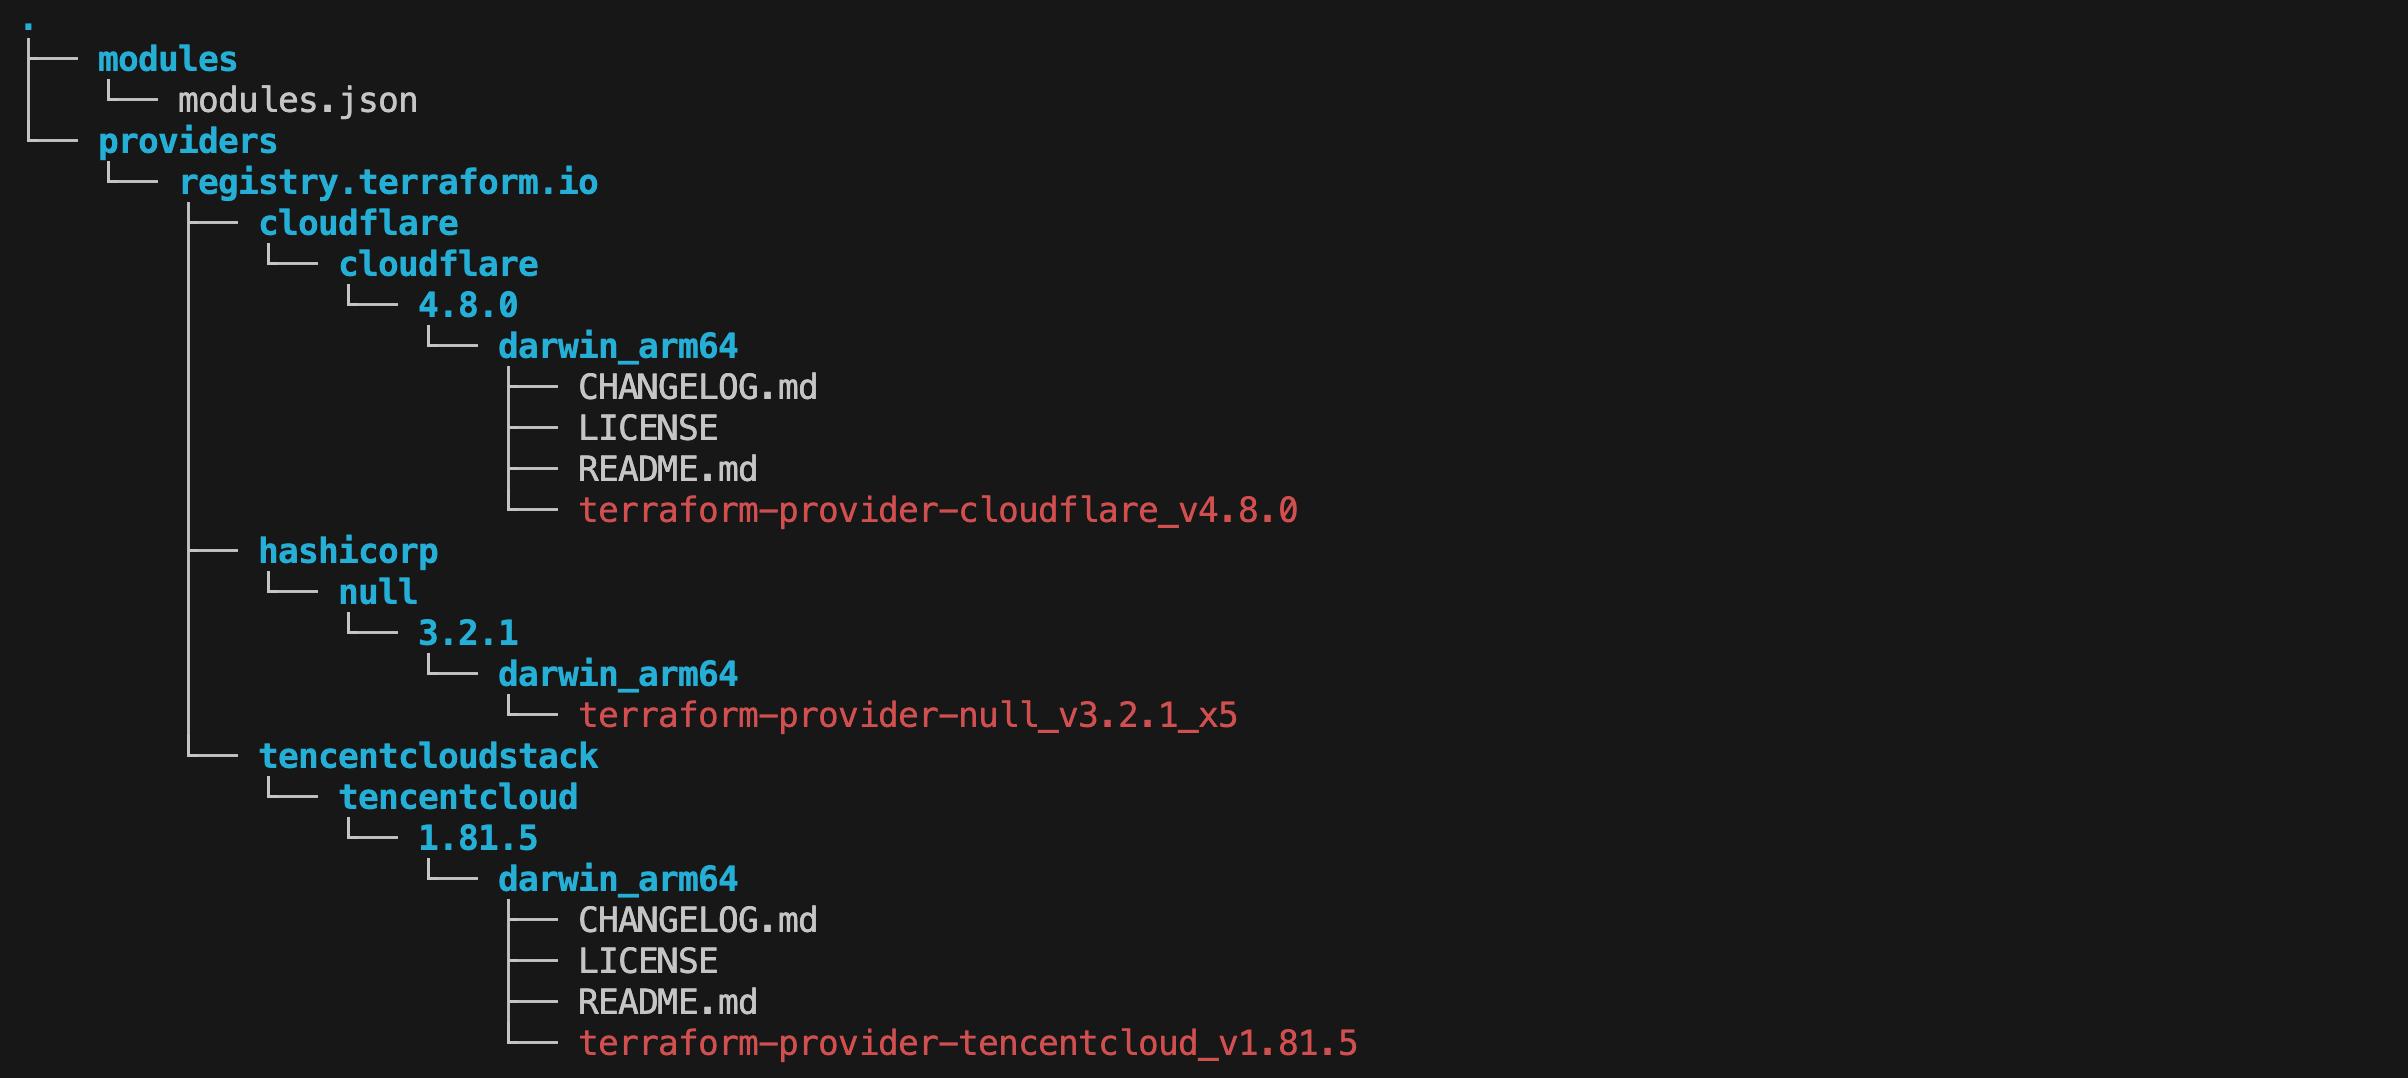
terraform init --plugin-dir .terraform/providers
- 如果增加、修改或更新了依赖,都需要重新执行 init
-
terraform apply -auto-approve
-
terraform destroy -auto-approve
-
生成依赖关系的svg
terraform graph | dot -Tsvg > graph.svg
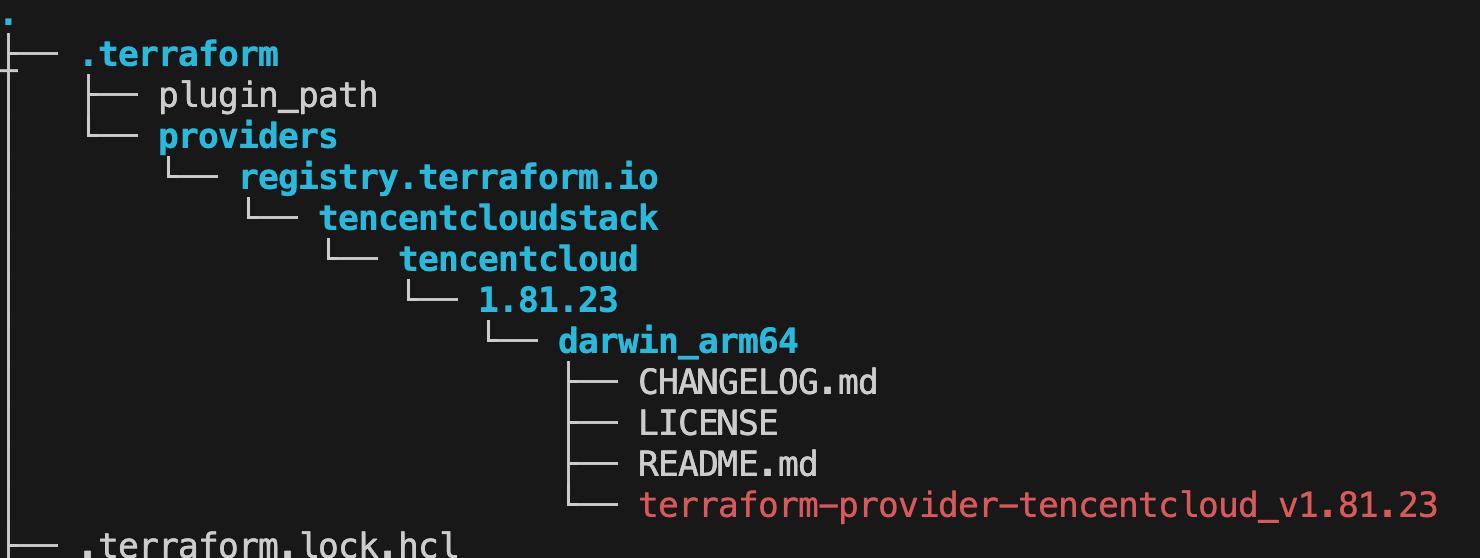
Terraform init
Terraform plan
Terraform apply
Terraform destroy
Terraform State File
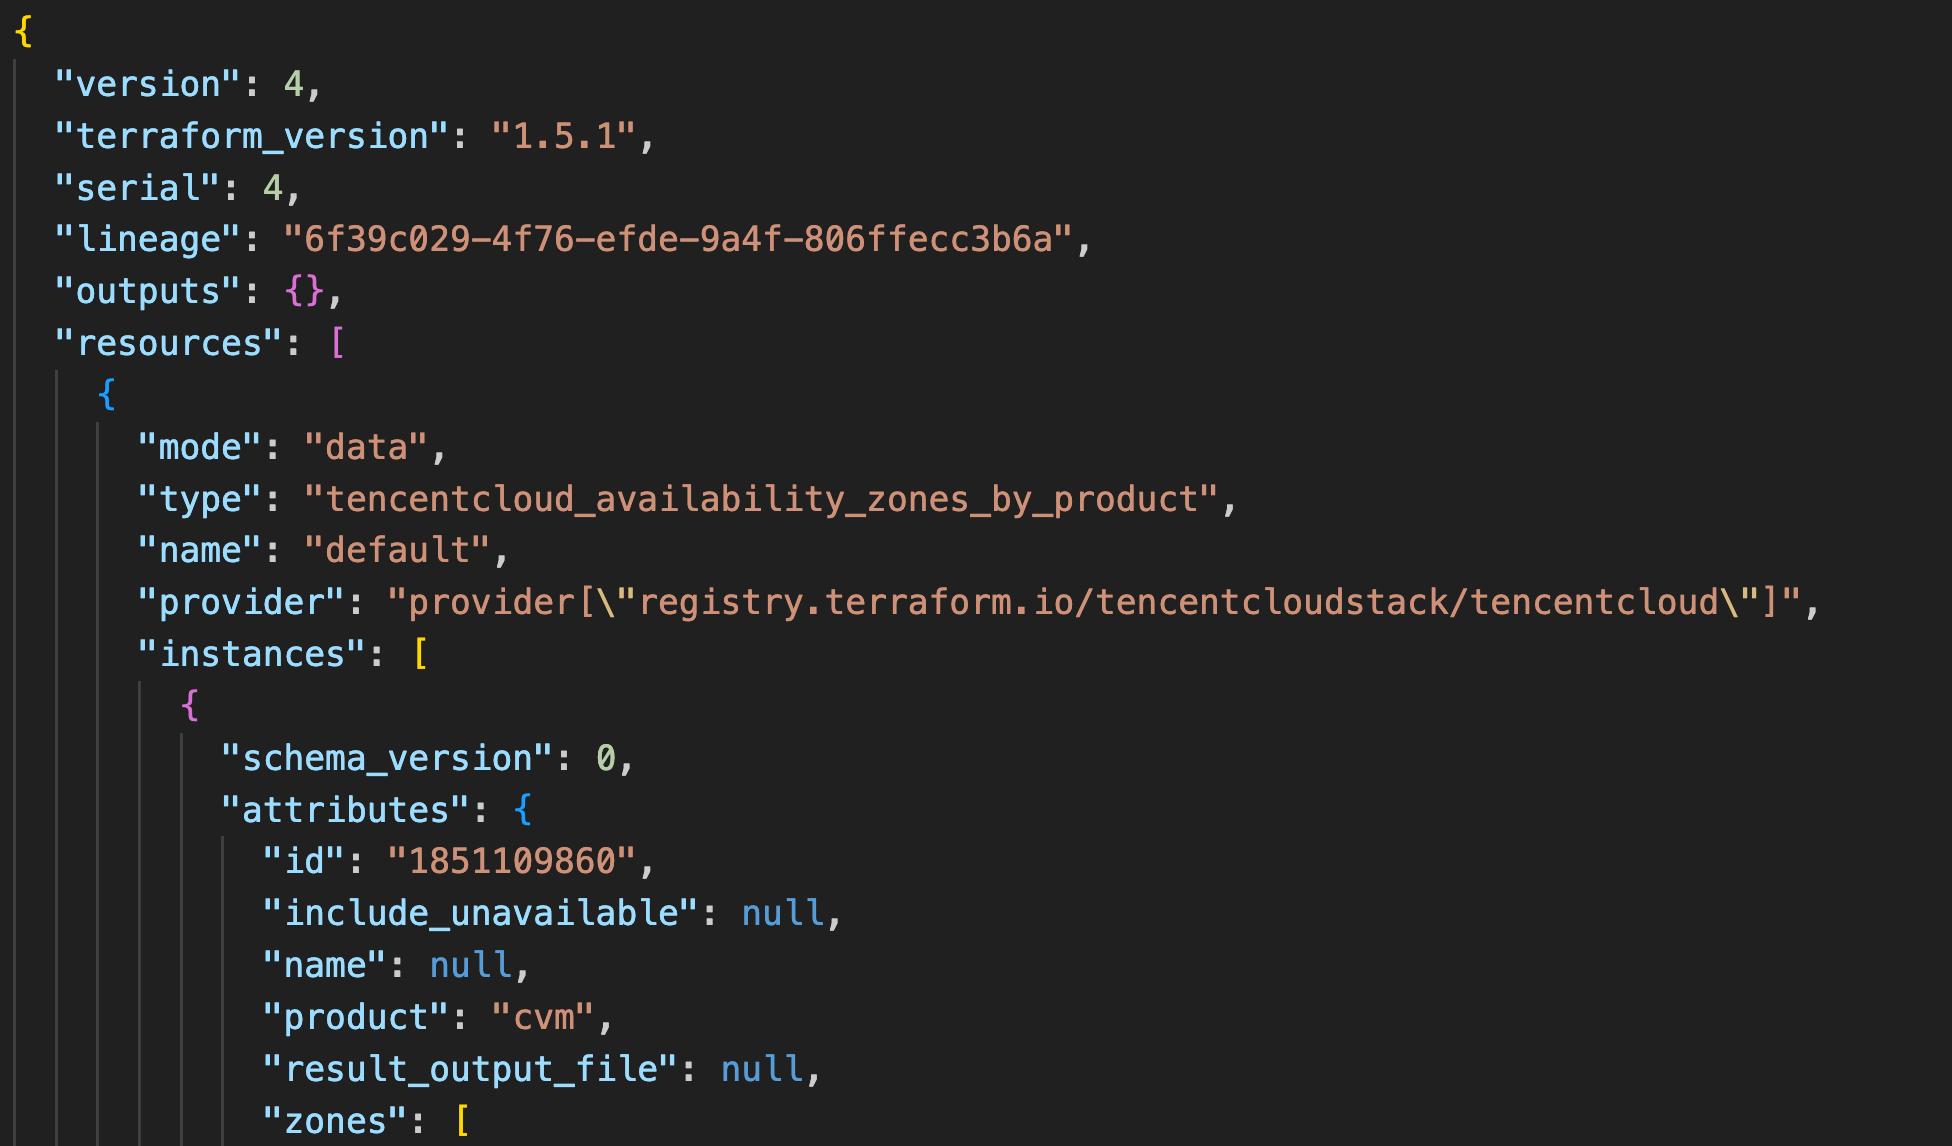
- terraform.tfstate 文件
- json 格式,记录了真实世界所有的状态
- 包括敏感信息,如虚拟机密码
- 可以存储在本地或者远端(非 Git)
- 随着 destroy 命令而清空
Remote Backend 远端存储
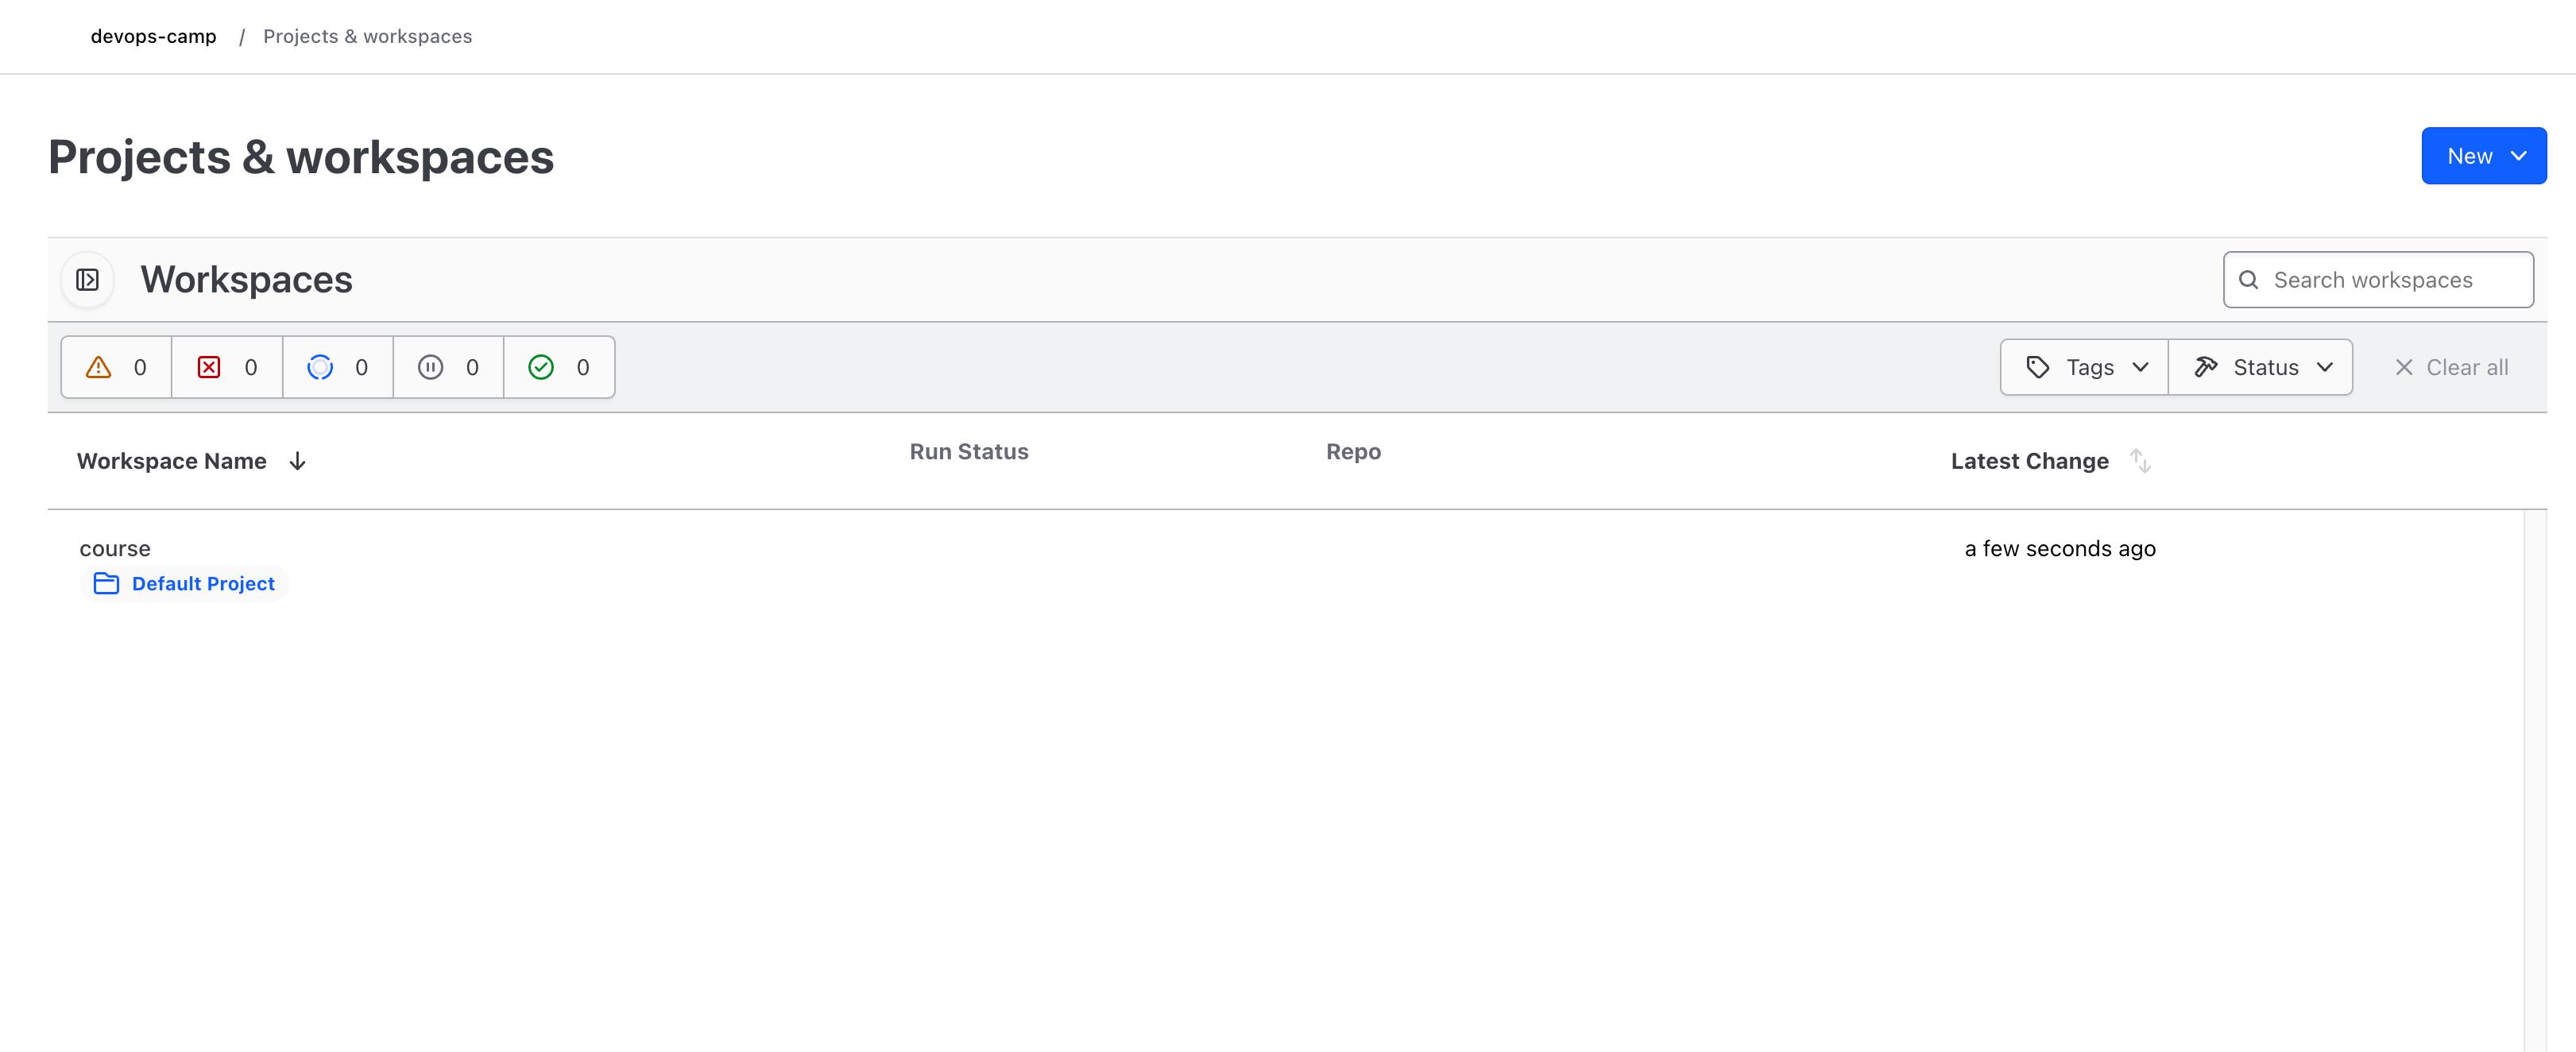
Remote Backend(Terraform cloud)
terraform {
  backend "remote" {
    organization = "devops-camp"
    woraspaces {
      name = "course"
    }
  }
}
Remote Backend(AWS)
terraform {
  backend "s3" {
    bucket = ""
    key = ""
    region = ""
    dynamodb_table = ""
    encrypt = true
  }
}
Remote Backend(Tencent COS)
terraform {
  backend "cso" {
    region = ""
    bucket = ""
    prefix = "terraform/state"
  }
}
关于 State 的其他命令
- terraform refresh:从基础设施实际状态更新 state 状态
- terraform state list:列出 state 记录的资源
- terraform state rm:删除某些 state 状态
- terraform state pull:从远端拉取状态到本地(灾备)
- terraform state push:更新本地的状态到远端(灾备)
Terraform Layout(推荐布局)
- main.tf:主要的业务逻辑(main.tf 并不是必须的入口文件)
- outputs.tf:定义输出内容
- variables.tf:定义变量参数
- version.tf:定义依赖和版本
main.tf
-
定义基础设施
-
main.tf 也可以超分为多个子文件,terraform 会统一进行加载
- cos.tf
- cvm.tf
- k8s.tf
outputs.tf
- 定义运行结束后所需要输出的内容
- 可设置是否为敏感数据,敏感数据将不输出
- 来源于其他的 resource 的输出内容

variables.tf
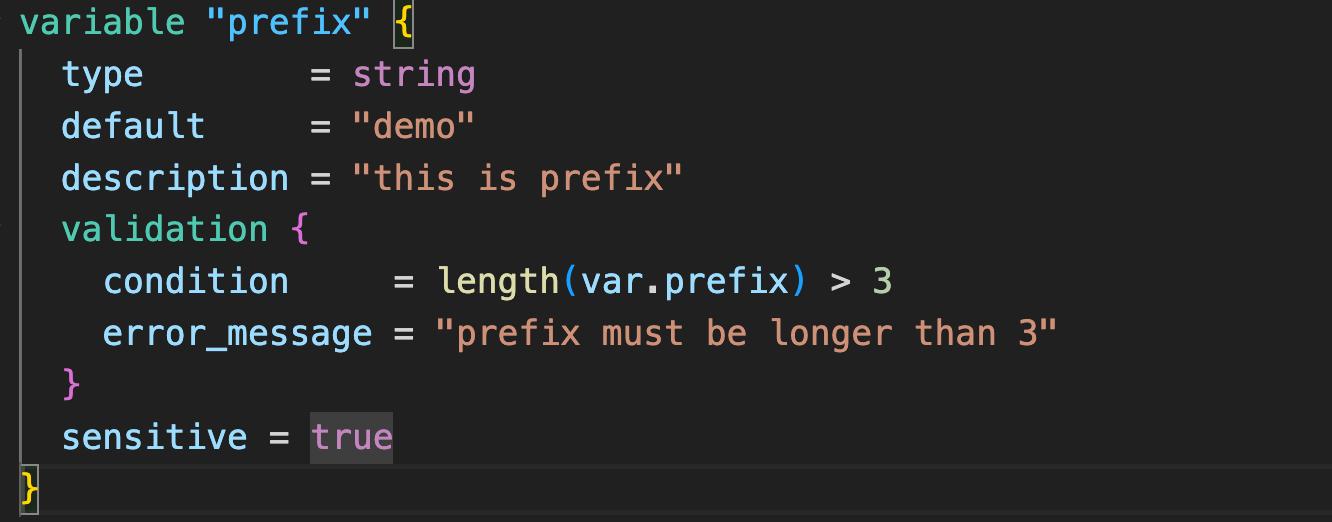
- 定义参数变量,用于在代码中引用
- 可定义类型、默认值、描述、验证函数、是否敏感数据(不在 plan 中显示)
- 访问变量
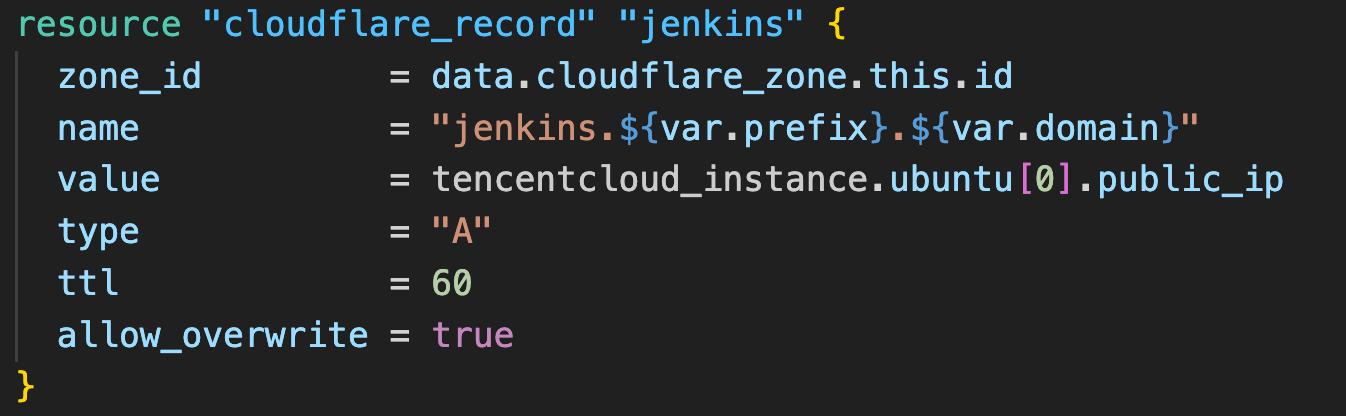
如何设置 variables?
- 通过在命令行配置:terraform apply -var="prefix=values"
- 指定配置文件:terraform apply -var-file="testing.tfvars"
- 环境变量:export TF_VAR_prefix=values
- 定义的默认值
- 交互式输入
优先级从上(1最高)到下(5最低)对值进行覆盖。
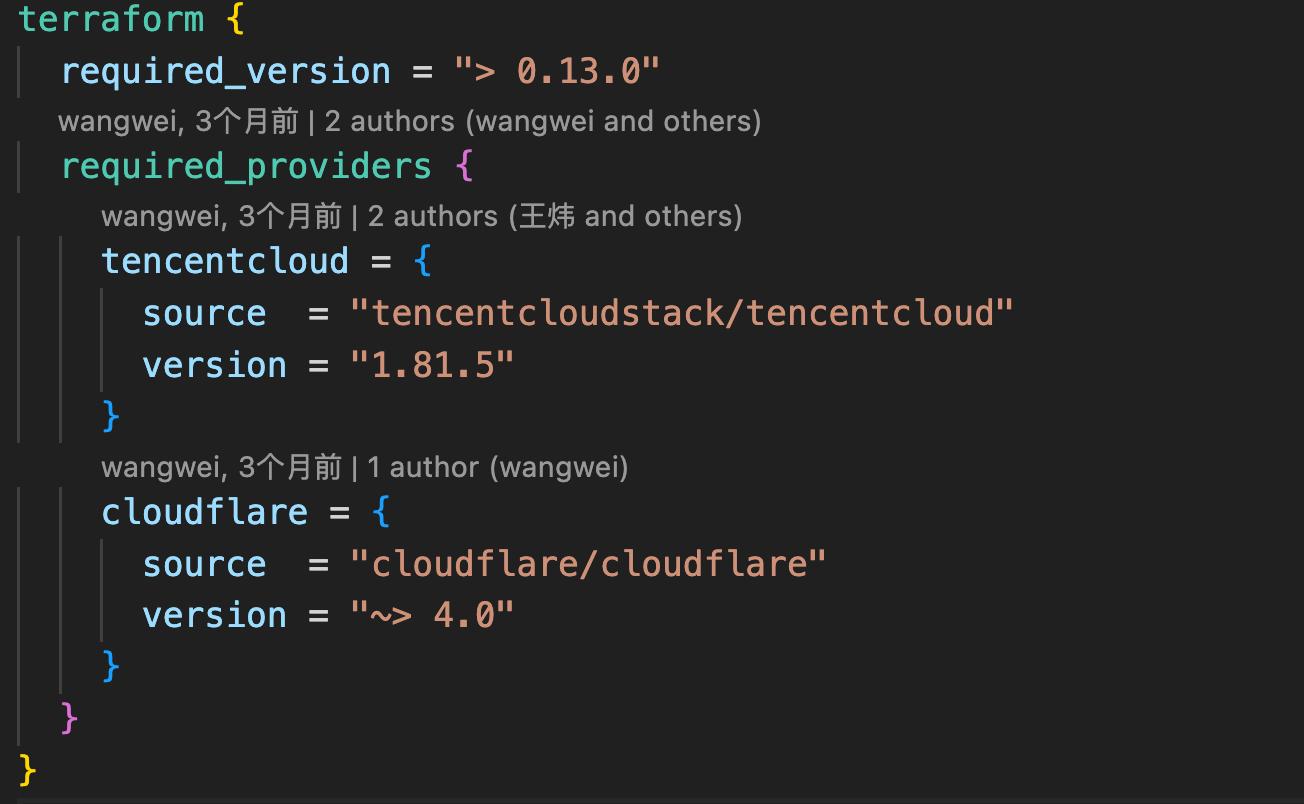
version.tf
- 统一定义项目的 provider 依赖和版本
- 定义 Terraform Cli 最低要求版本
进阶实战
表达式和函数
表达式
- 模板变量
- 值引用
- 运算符
(!, *, /, +, -, >=, ==, !=, &&) - 条件表达式
(<CONDITION> ? <TRUE VAL> : <FALSE VAL>) - For 表达式
( [for s in var.list : upper(s)] ) - Splat 表达式
(var.list[*].id) - 动态块
- 条件约束(变量类型、版本)
函数
- 数值函数(abs、floor、log、max、min、pow)
- 字符串函数(format、join、lower、regex、replace、split、substr)
- 集合函数(concat、containers、flatten、list、map、merge、reverse、sort)
- 编码函数(base64、json、urlencode、yaml)
- 文件系统函数(dirname、abspath、file、basename、templatefile)
- 时间日期函数(timestamp、formatdate、timeadd)
- 哈希和加密函数(sha1、md5、sha256、sha512、uuiid)
- 类型转换函数(tolist、tomap、toset、tostring、type)
Meta Arguments(元参数)
作用域
- resource 块
- modules
- depends_on(下一个没有引用上一个的值,但是又想要控制顺序时)
- count
- for_each
- lifecycle
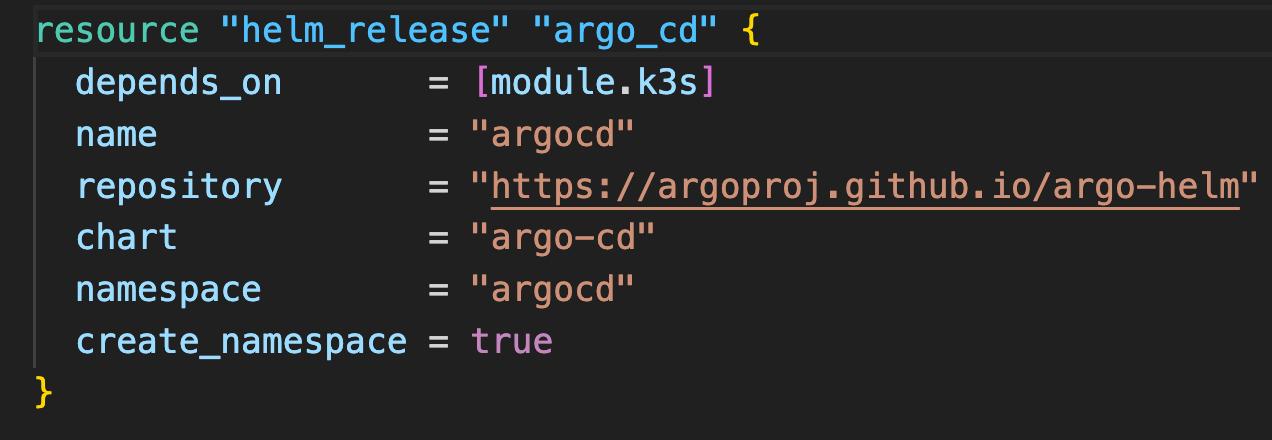
depends_on
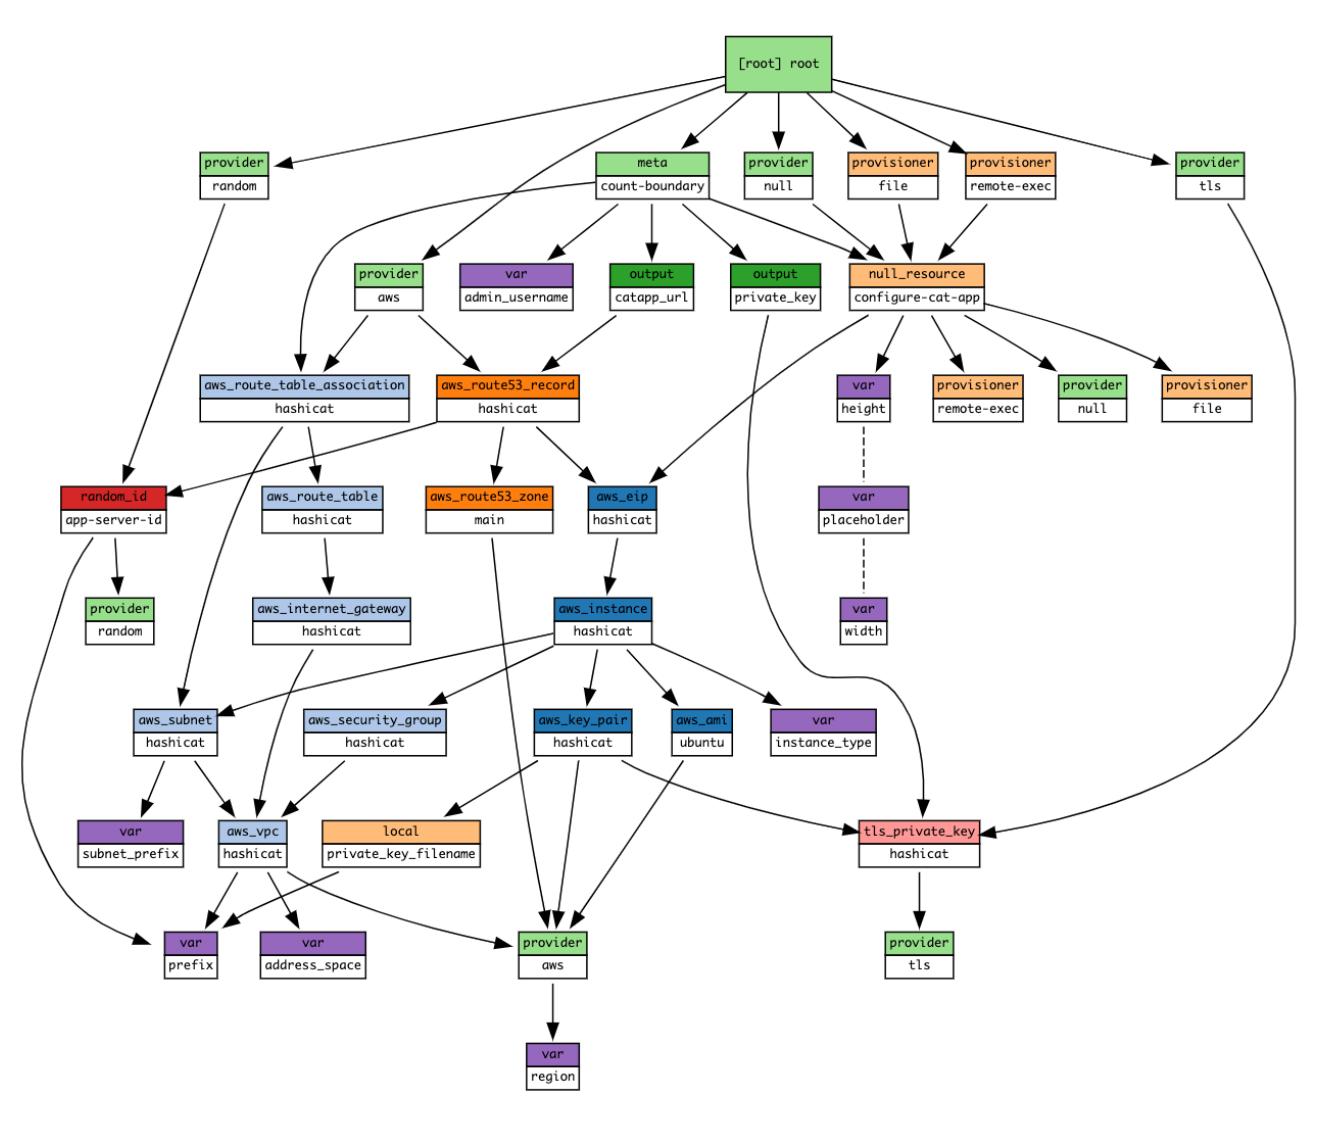
- Terraform 会自动生成资源的依赖关系图(DAG:有向无环图)
- 根据 DAG 来控制创建和销毁过程(有顺序)
- 可以通过 depends_on 显式指定依赖关系,以控制自愈创建和销毁顺序
- 可用 terraform graph | dot -Tsvg > graph.svg 生成依赖图(graphviz)
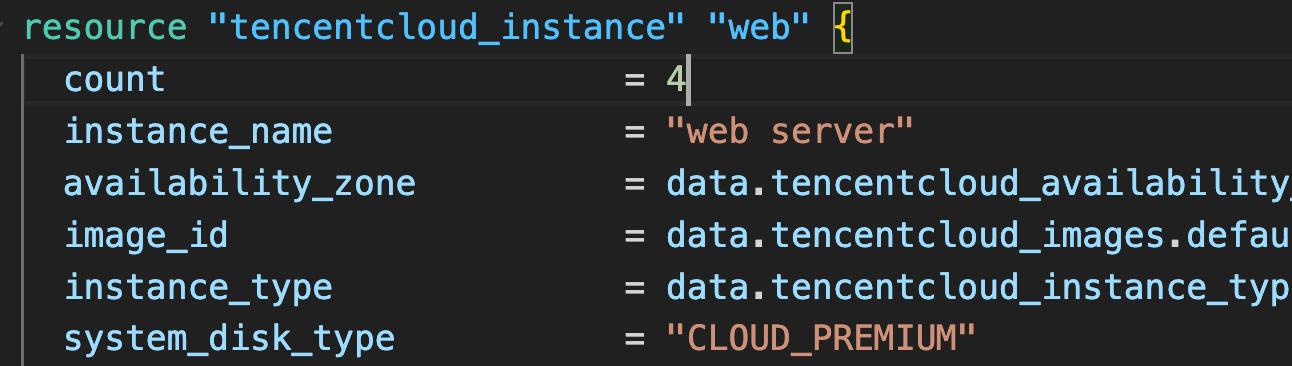
count
- 指定创建 N 个资源
- 当需要创建多个相同资源的时候非常有用
- web 这个名称会在后面加 [index],避免 id 冲突
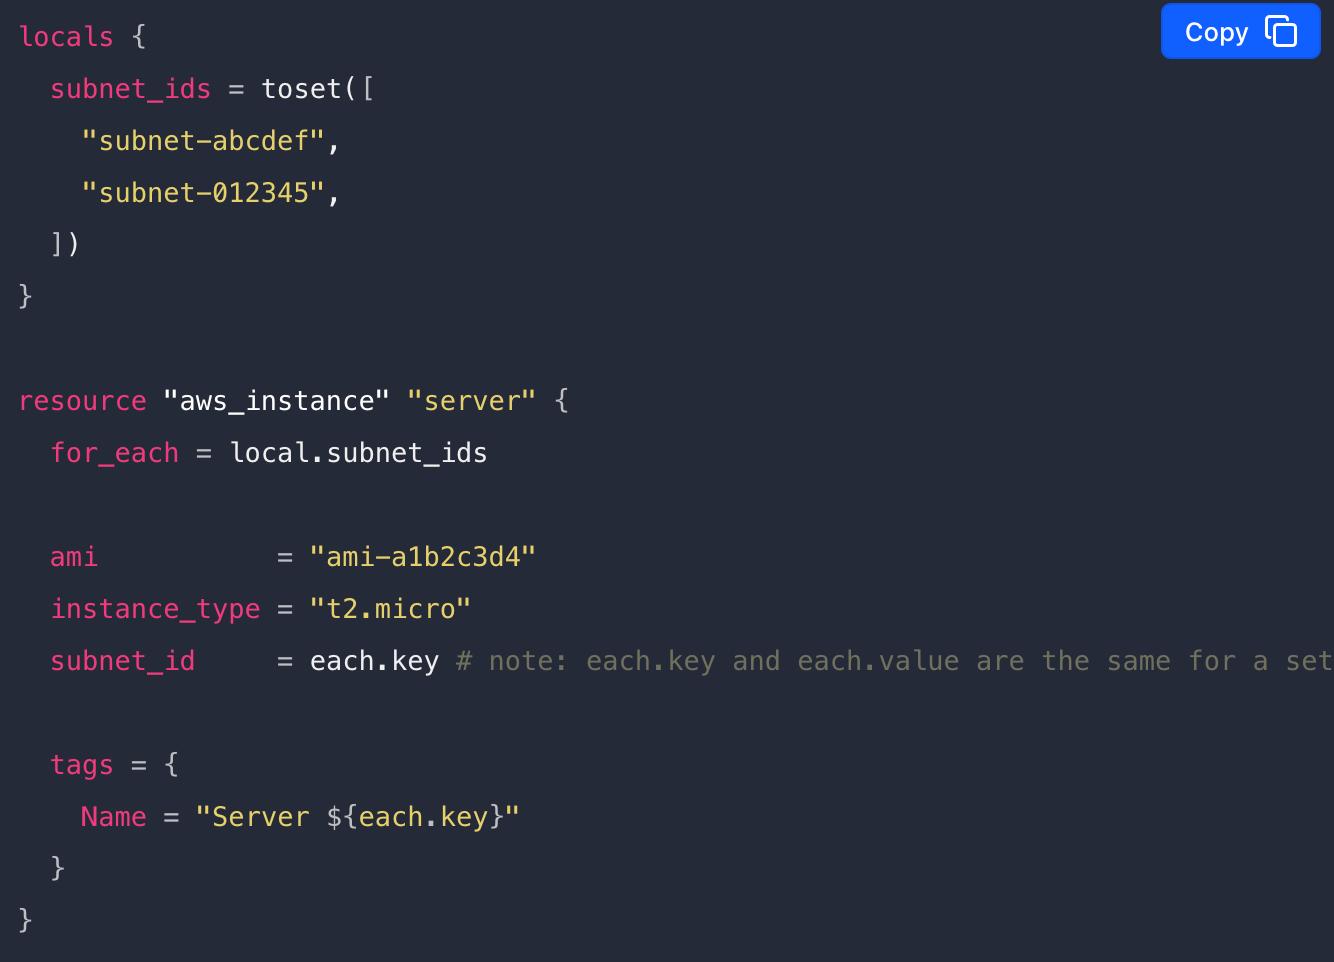
for_each
- 在单个块中创建多个资源
- 比 count 实现更好的控制
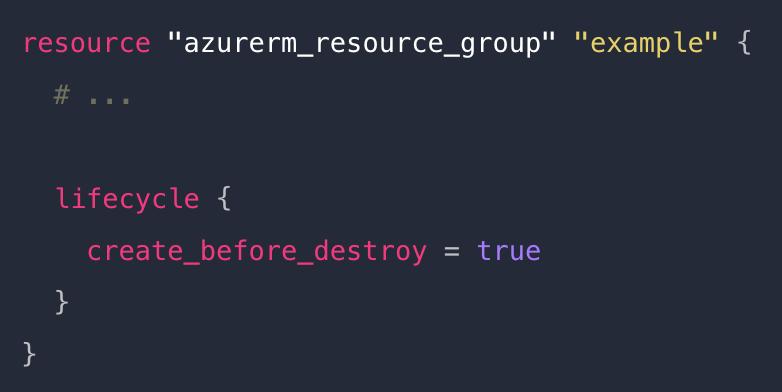
lifecycle
-
create_before_destroy
- 在销毁资源前先进行创建,实现 0 停机
-
prevent_destroy
- 阻止删除
-
ignore_changes
- 忽略差异
-
replace_triggered_by
- 当引用项目发生变化时候替换资源
Provisioners
在本地或者远端虚拟机中执行动作
- file
- local-exec
- remote-exec
- vendor
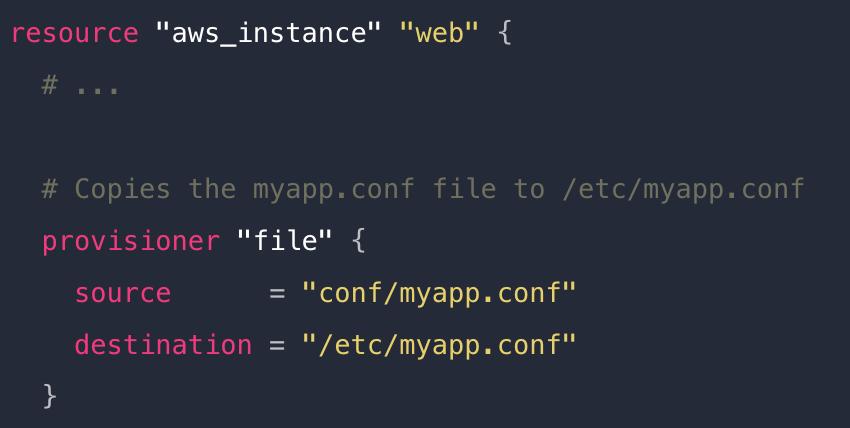
file
将本地文件或目录复制到远端虚拟机
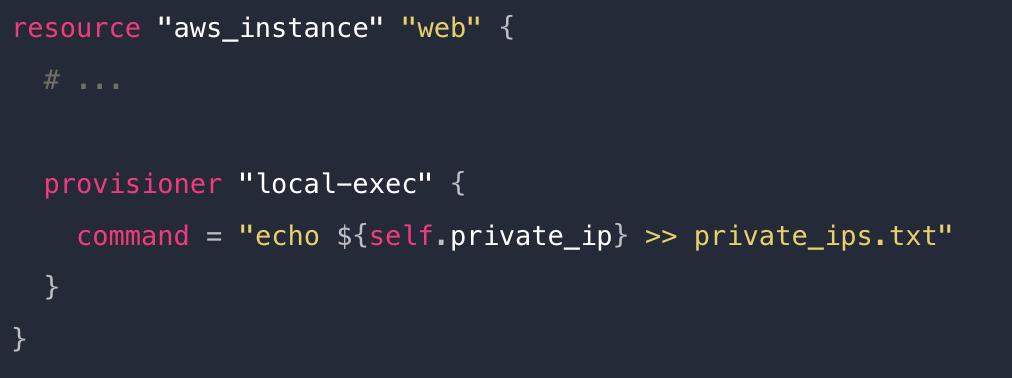
local-exec
在本地执行一段命令
注意平台差异
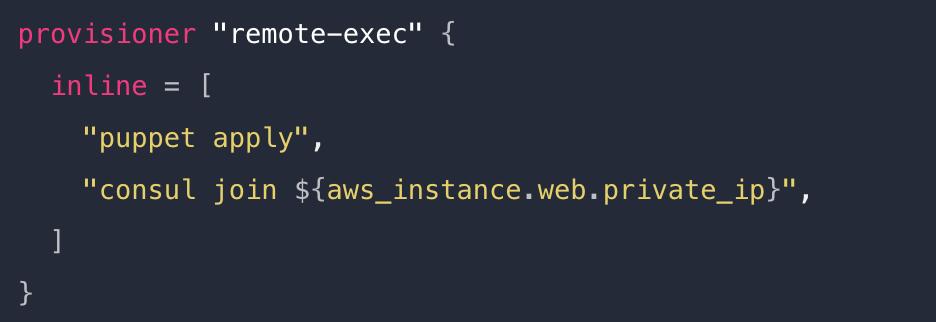
remote-exec
在远端虚拟机中执行命令
可以是 inline shell 命令,也可以指定 bash 脚本文件(通常配合 file)
思考:如何创建多环境基础设施
方案一:使用目录区分
在远端虚拟机中执行命令
可以是 inline shell 命令,也可以指定 bash 脚本文件(通常配合 file)
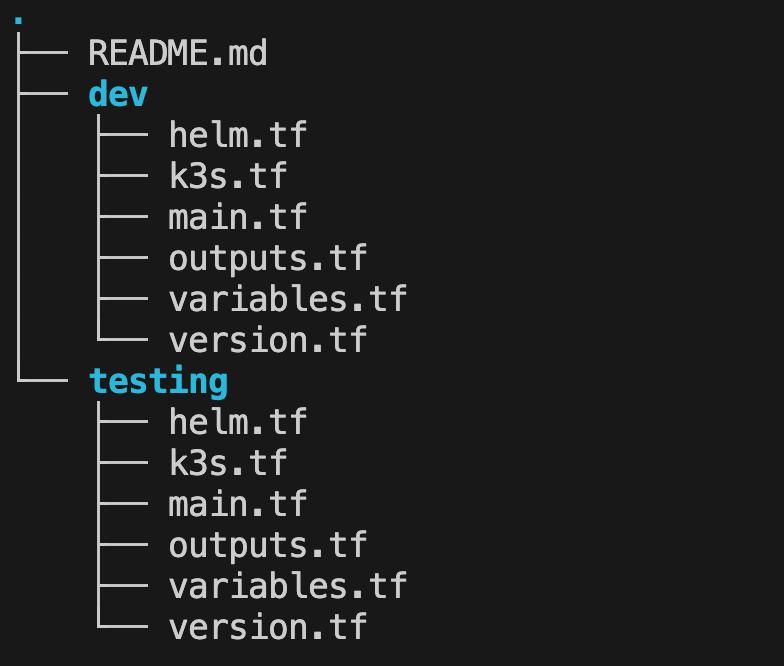
继续深入:修改环境怎么办?
需要同时修改 dev 和 testing 的代码
可维护性差、代码复用性差
方案二:使用 Terraform Workspace
$ terraform workspace list # 列出当前 workspace
* default # default 为默认的 workspace

$ terraform workspace new dev # 创建 dev workspace
Created and switched to workspace "dev"!

$ terraform apply -auto-approve # 在 dev workspace 中创建资源

$ terraform workspace new testing # 创建 testing workspace
Created and switched to workspace "testing"!

$ terraform apply -auto-approve # 在 testing workspace 中创建资源

$ terraform workspace list # 列出所有的 workspace
$ terraform destroy -auto-approve # 删除 testing workspace 的资源
$ terraform workspace select dev # 切换到 dev workspace
$ terraform destroy -auto-approve # 删除 dev workspace 的资源
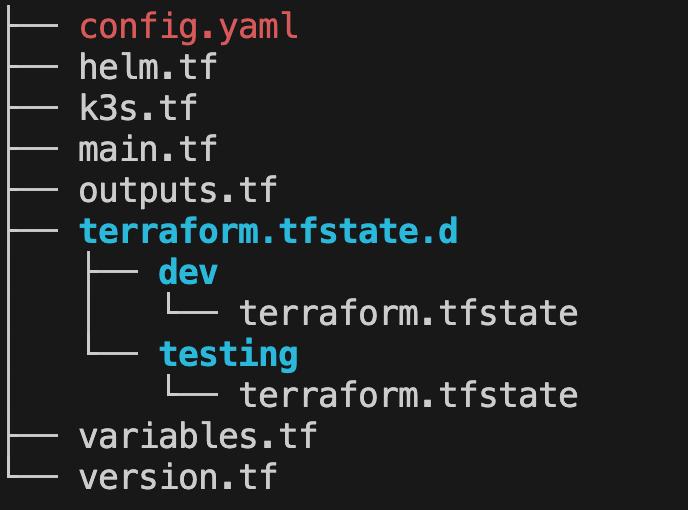
继续深入:workspace VS 目录隔离
Workspace
- 一套代码 N 个环境,实现了代码复用
- 增加了执行上下文的概念,容易出错
- 需通过 terraform workspace list 查看当前上下文
- 通过 terraform.tfstate.d 目录区分状态文件
目录隔离
- 需要同时修改 dev 和 testing 的代码
- 环境目录清晰,不容易出错
- 可维护性差、代码复用性差
继续深入:Module + 目录隔离
Module
-
模块是重用 Terraform 代码的主要方式
-
更好地组织和管理 IaC 源码
- 配置
- 微服务
- 人员角色
Module 的类型
-
根模块:包含所有工作目录下 .tf 文件,默认模块
-
子模块:通过 .tf 文件引用的外部模块
- 本地
- Terraform Registry
- HTTP
- Git
- S3
继续深入:Module 和代码组织结构
├── modules                                                子模块目录
│ ├── cvm                                                CVM 模块
│ │ ├── main.tf
│ │ ├── outputs.tf
│ │ ├── variables.tf
│ │ └── version.tf
│ └── k3s                                                K3s 模块
│ ├── main.tf
│ ├── outputs.tf
│ └── variables.tf
└── testing                                                testing 环境目录
│ ├── main.tf
│ └── variables.tf
├── dev                                                        dev 环境目录
│ ├── main.tf
│ └── variables.tf
dev/main.tf
module "cvm" {
  source = "../modules/cvm"
  secret_id = var.secret_id
  secret_key = var.secret_key
  password = var.password
}
module "k3s" {
  source = "../modules/k3s"
  public_ip = module.cvm.public_ip
  private_ip = module.cvm.private_ip
}
Demo6:Module + 目录隔离
Module 抽象原则
- 以使用逻辑、功能拆分模块
- 为模块设置必要的入参和组合
- 为模块提供有用的默认值
- 设置输出,便于进一步集成
Terragrunt
- Terraform 的包装器
- 减少重复代码
- 多账户支持
- 大规模场景组织 IaC 代码
- IaC 生成器
Demo:Terragrunt 实践
.
├── deploy
│ ├── department1
│ │ ├── team1
│ │ │ ├── account.hcl
│ │ │ └── cvm
│ │ │ └── terragrunt.hcl
│ │ └── team2
│ │ ├── account.hcl
│ │ └── cvm
│ │ └── terragrunt.hcl
│ ├── department2
│ │ ├── team1
│ │ └── team2
│ └── terragrunt.hcl
├── modules
Terragrunt 建议
- 谨慎使用
- 对 Terraform 版本支持的问题
- 社区和维护问题
- Terraform + Modules 仍是主流