10 | Addons 部署(1):部署 Kubernetes Dashboard
在操作 Kubernetes 集群的过程中,我们可以通过 kube-apiserver 提供的 REST API 接口来操作。也可以通过 kubectl 命令行工具来操作。还有一种更便捷、更简单的操作方式便是通过前端来操作。
Kubernetes 提供了官方的 dashboard 组件,用来提供界面化访问 Kubernetes 集群的方式。本小节,我们就来部署下 Kubernetes dashboard 组件。
使用 Helm 安装 dashboard
安装 dashboard 最便捷的方式便是通过 Helm 来安装。执行以下命令,来通过 Helm 安装 dashboard:
# 1. 添加 kubernetes-dashboard Helm 仓库
$ helm repo add kubernetes-dashboard https://kubernetes.github.io/dashboard/
"kubernetes-dashboard" has been added to your repositories

# 2. 安装 dashboard
$ helm upgrade --install kubernetes-dashboard kubernetes-dashboard/kubernetes-dashboard --create-namespace --namespace kubernetes-dashboard
Release "kubernetes-dashboard" does not exist. Installing it now.
NAME: kubernetes-dashboard
LAST DEPLOYED: Tue May 13 17:16:07 2025
NAMESPACE: kubernetes-dashboard
STATUS: deployed
REVISION: 1
TEST SUITE: None
NOTES:
*************************************************************************************************
*** PLEASE BE PATIENT: Kubernetes Dashboard may need a few minutes to get up and become ready ***
*************************************************************************************************

Congratulations! You have just installed Kubernetes Dashboard in your cluster.

To access Dashboard run:
  kubectl -n kubernetes-dashboard port-forward svc/kubernetes-dashboard-kong-proxy 8443:443

NOTE: In case port-forward command does not work, make sure that kong service name is correct.
      Check the services in Kubernetes Dashboard namespace using:
        kubectl -n kubernetes-dashboard get svc

Dashboard will be available at:
  https://localhost:8443


# 3. 转发流量到 dashboard 控制面
$ kubectl -n kubernetes-dashboard port-forward svc/kubernetes-dashboard-kong-proxy 9443:443 --address 0.0.0.0
所有 Pod 都 Running后,打开浏览器访问:https://公网 IP:9443,界面如下:
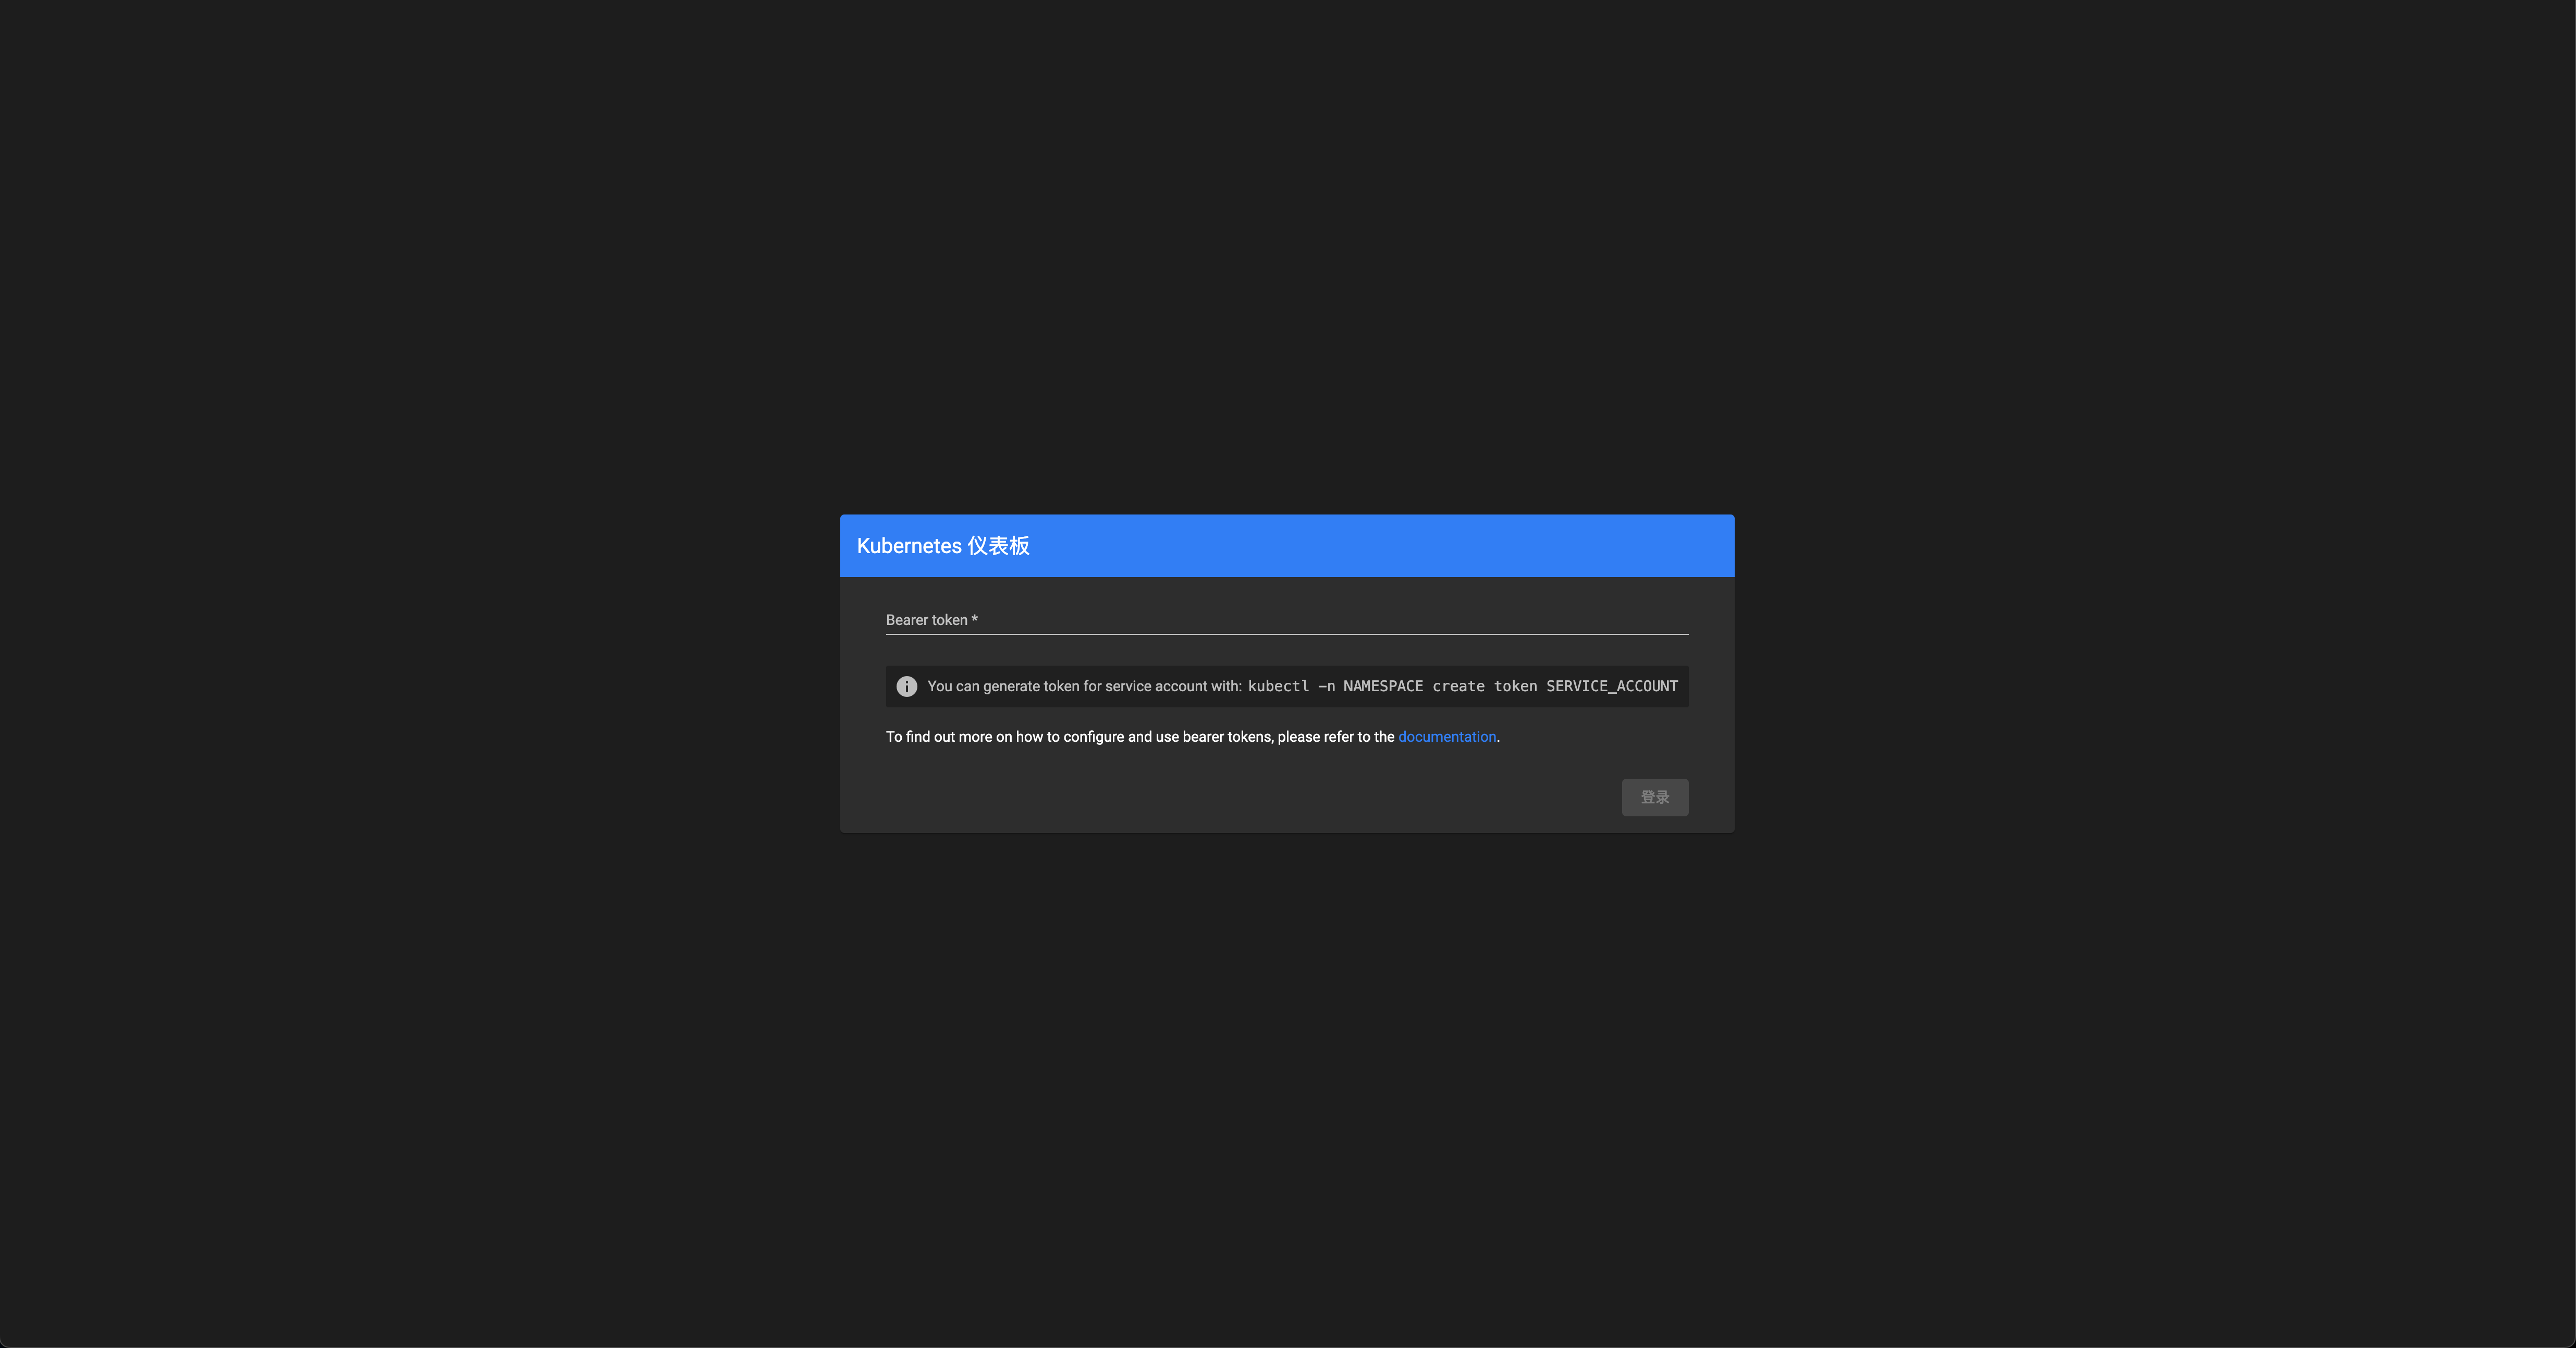
出现登录界面,需要通过 Bearer token 来登录。所以,我们需要先生成一个 Bearer token。
创建登录 Dashboard 的 token 和 kubeconfig 配置文件
dashboard 默认只支持 token 认证(不支持 client 证书认证),所以如果使用 Kubeconfig 文件,需要将 token 写入到该文件。
你可以参考官方文档来创建:Creating sample user。也可以,跟随教程来创建。
创建登录 Bearer token
$ kubectl -n kubernetes-dashboard create sa dashboard-admin # 1. 创建 ServiceAccount
serviceaccount/dashboard-admin created

$ kubectl create clusterrolebinding dashboard-admin --clusterrole=cluster-admin --serviceaccount=kubernetes-dashboard:dashboard-admin # 创建 ClusterRoleBinding
clusterrolebinding.rbac.authorization.k8s.io/dashboard-admin created

$ DASHBOARD_LOGIN_TOKEN=$(kubectl -n kubernetes-dashboard create token dashboard-admin)
$ echo ${DASHBOARD_LOGIN_TOKEN}
使用输出的 token 登录 Dashboard。这里,也需要把 token 保存起来,方便下次登录 dashbaord。登录之后,界面如下:
创建使用 token 的 KubeConfig 文件
创建命令如下:
source /opt/k8s/bin/environment.sh
# 设置集群参数
kubectl config set-cluster kubernetes \
  --certificate-authority=/etc/kubernetes/cert/ca.pem \
  --embed-certs=true \
  --server=${KUBE_APISERVER} \
  --kubeconfig=dashboard.kubeconfig

# 设置客户端认证参数,使用上面创建的 Token
kubectl config set-credentials dashboard_user \
  --token=${DASHBOARD_LOGIN_TOKEN} \
  --kubeconfig=dashboard.kubeconfig

# 设置上下文参数
kubectl config set-context default \
  --cluster=kubernetes \
  --user=dashboard_user \
  --kubeconfig=dashboard.kubeconfig

# 设置默认上下文
kubectl config use-context default --kubeconfig=dashboard.kubeconfig
用生成的 dashboard.kubeconfig 登录 Dashboard。
参考
https://github.com/kubernetes/dashboard/wiki/Access-control
https://github.com/kubernetes/dashboard/issues/2558
https://kubernetes.io/docs/concepts/configuration/organize-cluster-access-kubeconfig/
https://github.com/kubernetes/dashboard/wiki/Accessing-Dashboard---1.7.X-and-above